i in a computer repair shop and i would like to have a button that prints off coatomer tags that way we don’t lose the laptops.
are we able to make a button in all the users that if you click it it puts
first last name
their email
phone
and a barcode
coatomer id
i would like it on a label 40x30
Hi, yes I use something similar all the time. Bascially it all depends on how you handle the customer’s laptop. Do you make a project out of it, or do you make a simple sales order? In any case, you can just head over to the print part of the doctype, and customize a new format.
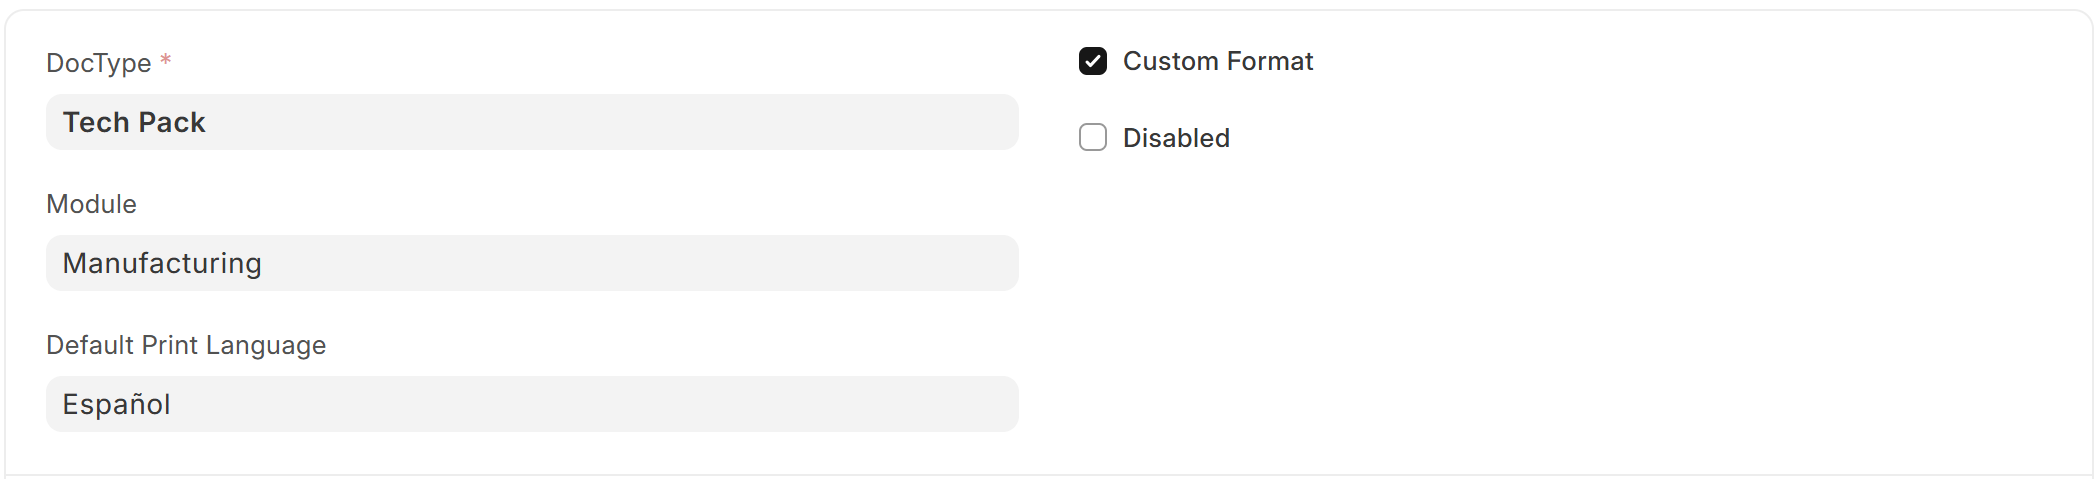
Here make sure to click “Custom Format.”
Clicking this will create a textbox below Raw Printing that will allow you to specify the HTML design. I prefer this method as it gives me endless possibilities in terms of size. And if you are not well versed in HTML/CSS you can ask ChatGPT to whip out a functional design. But here is my code for your reference:
<style>
	.print-format table, .print-format tr,
	.print-format td, .print-format div, .print-format p {
        font-family: 'Arial Narrow', Arial, sans-serif;
	   	line-height: 150%;
		vertical-align: middle;
	}
	@media screen {
		.print-format {
			width: 4cm;
			height: 8cm;
			padding: 0cm;
			padding-top: 0.5cm;
			min-height: 8cm;
		}

		.print-format .line {
    		border-top: 1px dashed black;
    		padding-bottom: 2.5cm;
    	}

    	.print-format .qr {
    	    margin: 0.2cm;
    	}
	}

	/* Define page breaks */
    .page-break {
        page-break-after: always;
    }

    .wcul {
    display: flex; /* Use Flexbox for layout */
    justify-content: space-between; /* Distribute items equally */
    align-items: center; /* Center items vertically (if height is defined) */
    padding: 0; /* Remove default padding */
    margin:0;
    list-style-type: none; /* Remove default list bullets */
    text-align: center;
    }

    .wcli {
        display: inline-block;
        flex: 1; /* Make each li take equal space */
        text-align: center; /* Center text inside li */
    /* Additional styling as needed */
    text-align: center;
    }

    .center {
      display: block;
      margin-left: auto;
      margin-right: auto;
      text-align: center;
    }

    .highlighted {
        background-color: black;
        color: white;
    }

    .dotted-box {
            width: 3cm; /* Set the width of the box */
            height: 1.2cm; /* Set the height of the box */
            border: 1px dotted black; /* Set the border style to dotted */
            box-sizing: border-box; /* Include padding and border in the element's total width and height */
            /* Optional styling for visual appearance */
            background-color: #f9f9f9; /* Light background color */
            margin: 5px auto; /* Optional: add some space around the box */

        }
</style>


{% for var in doc.registries %}
    <div class="page-break">
            <p class="small text-center">
                {{ customer.name }},  <br>
                TAXID {{ customer.tax_id }} <br>
            </p>

            <p class="small text-center">
                <b>{{ doc.model_name }}</b><br>
                ART. {{ doc.model_code }} <br>
            </p>

            <p class="small text-center">
            {% for comp in fabric.compositions %}
                <b>{{ comp.percent }}% {{ _(comp.composition, "es") }}</b><br>
            {% endfor %}
            </p>

            <ul class="wcul center">
                {% for wash in fabric.wash_care %}
                <li class="wcli">
                    <img src="https://www.indopar.com.py{{ wash.image_source }}" width="22px">
                </li>
                {% endfor %}
            </ul>

            <p class="small text-center">
                <b>{{ _("Made in", "es") }}</b><br>
                {{ var.sku }} - {{ var.variant }}
            </p>

            <hr style="border: 1pt solid black; width: 100%; margin: 5px;">
            <ul class="wcul center">
                {% for size in doc.sizes %}
                    {% if size.size == var.size %}
                    <li class="wcli highlighted">
                        <span class="highlighted" style="padding:4px;">{{ size.size }}</span>
                    </li>
                    {% else %}
                    <li class="wcli">
                        {{ size.size }}
                    </li>
                    {% endif %}
                {% endfor %}
            </ul>

            <div class="dotted-box"></div>

        <hr>
    </div>
{% endfor %}
Basically here I am creating 4x8cm label that I print with my Thermal Printer and stick on labels. It has customer and model information. I am in fashion, so you’ll have to adapt. But basically you can create your label using HTML and Jinja2 Templating.