Based on the excellent instructions provided by @shashank_shirke, I wanted to explain how to install erpnext using Docker. I think this will also be helpful for many others.
The advantage of using Docker is that you are independent of the underlying server structure and can easily migrate to another system if necessary.
 Table of Contents:
- Installation of Docker
- Configruation and Ressource Directory
- Install Traefik
- Install MariaDB
- Building the Image
- Create Docker Compose
- Starting Docker Compose
- Creating the page and installing apps
- Have fun
0. What do i need?
The only thing you need is a system on which Docker can be run, but the available resources should also be within the normal requirements of approx.
- 4GB RAM
- 50GB SSD
- 2vCPUs.
What you also need is your own domain that is publicly accessible so that Let’s Encrypt can issue the certificate for your site. You also need the ability to create subdomains.
If you have the domain your-site.com, you create the subdomain
and point it to your server’s IP address using an A or AAAA record.
Recommended because many commands work in the Linux environment, such as VPS, which runs on Linux. But with adjustments, any system that can run Docker can be used.
 Installation of Docker
In order to use ERPNext with Docker, we need Docker, as most people already know ![]()
Here, we can distinguish between Windows and Linux target systems. Both use the Docker Engine, but in Windows, it is delivered via Docker Desktop.
I give you a quick overview of how to install Docker on both systems.
| Windows | Linux |
|---|---|
| Docker-Desktop | Docker-Engine |
1.A Docker for Windows
For Windows, download Docker Desktop from Docker and install it on your system.
After this you can proceed to the creation of the configruation directory. Next Step
In Windows, some commands of this guide may need to be adapted to the environment, e.g. sed.
1.B Docker for Linux
For Linux, it depends on the distribution installed. Docker offers a list of various options, from Debian to Ubuntu to CentOS.
On the following page, select the system you are using and plan to install docker on.
There are several options for installation. The easiest way is to use the convenience script, which takes care of the settings for you, but is not intended for production use.
I will create a table for you here with the links for the respective versions.
| Plattform | Quick (Not Production) | Production |
|---|---|---|
| CentOS | Quick-Link | Prod-Link |
| Debian | Quick-Link | Prod-Link |
| Ubuntu | Quick-Link | Prod-Link |
| Fedora | Quick-Link | Prod-Link |
Then do the post-installation steps. This will ensure that the permissions are easier to use and that Docker will start up with the System. Post-Installation Steps
After this you can proceed to the creation of the configruation directory. Next Step
 Configruation and Ressource Directory
2.1 Configruation Directory
A configuration and resources directory is created in the user directory.
mkdir ~/gitops
The folder can be named as you wish; you will then only need to adjust the paths accordingly in the commands later on.
You can create a private repo for this directory and track the changes there.
2.2. Ressource Directory Frappe Docker
We clone the Frappe Docker repo the best place is in the current user directory. Next to the gitops folder
git clone https://github.com/frappe/frappe_docker

cd frappe_docker
 Install Traefik
Traefik serves as a reverse proxy so that your ERpNext instance can later be served via your domain. In addition, your Lets Encrypt certificate is provided via this proxy.
3.1 Create traefik.env
First, create the file traefik.env in the gitops folder.
touch ~/gitops/traefik.env
3.2 Set Traefik domain
Then set the env variables. First, a subdomain address where you can access the Traefik interface
echo 'TRAEFIK_DOMAIN=traefik.your-domain.com' > ~/gitops/traefik.env
3.3 Set Notification mail
The email address to which Let’s Encrypt can send notifications if necessary.
echo '[email protected]' >> ~/gitops/traefik.env
3.4 Set password for traefik
Finally, create a password for authentication on the Traefik interface. Please use a secure password and enter it instead of “changeit”.
echo 'HASHED_PASSWORD='$(openssl passwd -apr1 changeit | sed -e s/\\$/\\$\\$/g) >> ~/gitops/traefik.env
3.5 Validation
The created traefik.env should look something like this
TRAEFIK_DOMAIN=traefik.your-domain.com
[email protected]
HASHED_PASSWORD=$apr1$K.4gp7RT$4dsR2jdh3D421b5o5fI1dGH/
3.6 Start Traefik
We then use this command to start traefik.
It is best to pay attention to which folder you are executing this command from, otherwise either the .env or the compose and overrides may not be found.
In this example, everything is executed within
frappe-docker.
docker compose --project-name traefik \
--env-file ~/gitops/traefik.env \
-f overrides/compose.traefik.yaml \
-f overrides/compose.traefik-ssl.yaml up -d
Now open traefik.your-domain.com in your browser, you should be able to log in with admin and the password you just set in changeit.
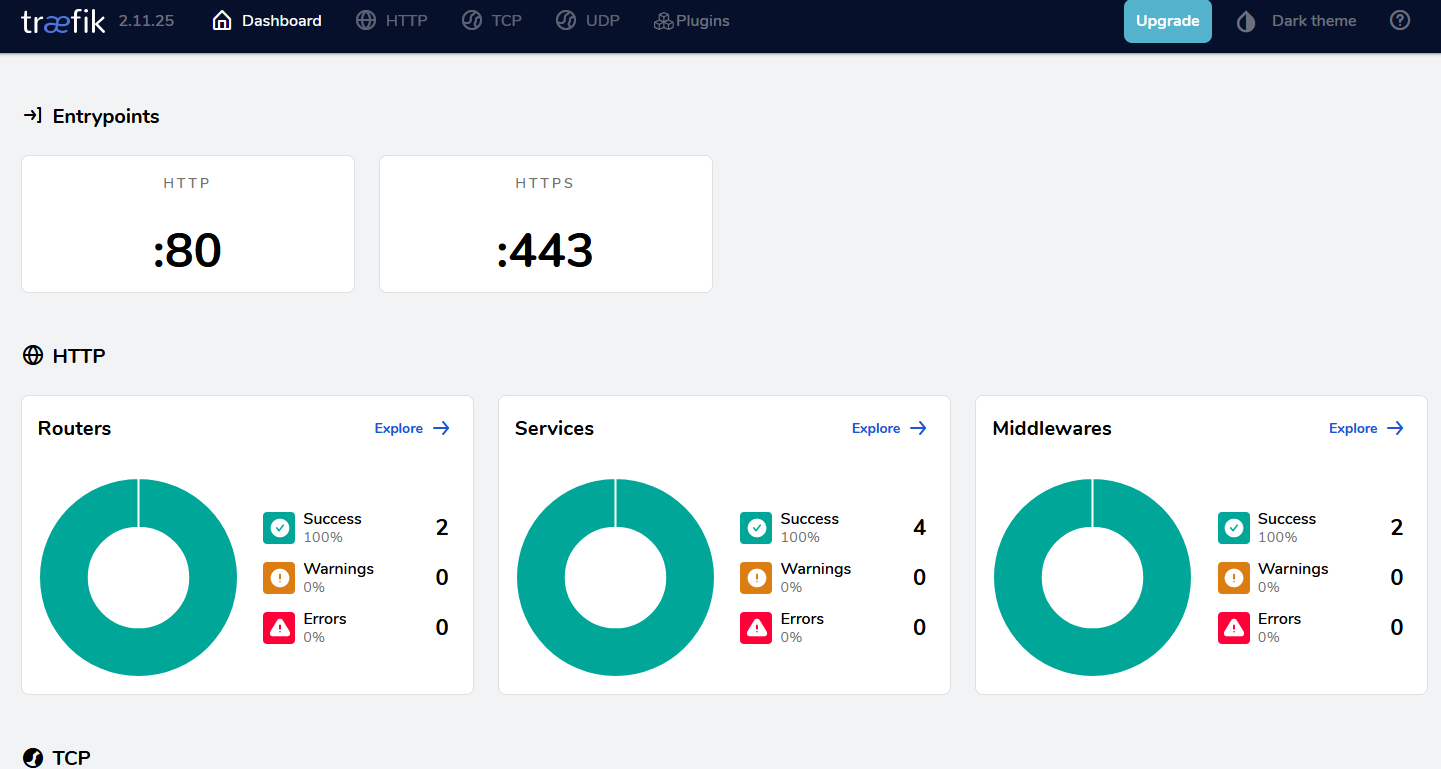
The site should also have an SSL certificate and be accessible via https.
 Install MariaDB
As with Traefik, we first create a mariadb.env file inside the gitops directory.
4.1 Create mariadb.env
touch ~/gitops/mariadb.env
4.2 Setting DB password
Then set the root password for MariaDB
echo "DB_PASSWORD=changeit" > ~/gitops/mariadb.env
4.3 Start MariaDB
In this example, everything is executed within
frappe-docker.
docker compose --project-name mariadb --env-file ~/gitops/mariadb.env -f overrides/compose.mariadb-shared.yaml up -d
The MariaDB container should also be running. You can check whether the container is running using docker ps.
 Building the Image
In operation, we use a self-built Docker image that contains the applications we specify.
5.1 Create apps.json
First, we create an app.json file.
touch ~/gitops/apps.json
5.2 Fill the apps.json
This is the important part of our installation. We specify all the apps we want to use in our setup. To do this, we specify the repository where the app is located and the desired branch. Here, we must ensure that the respective versions are compatible with each other.
For our example, we will install ERPNext and the required Payments App.
The JSON should look like this:
[
  {
    "url": "https://github.com/frappe/erpnext",
    "branch": "version-16"
  },
  {
    "url": "https://github.com/frappe/payments",
    "branch": "develop"
  }
]
5.3 Convert apps.json to BASE64
Next, apps.json must be converted to BASE64 and made available to the system as an environment variable. The following command is used for this purpose.
export APPS_JSON_BASE64=$(base64 -w 0 ~/gitops/apps.json)
5.4 (Optional Validate)
You can check whether the conversion was successful by reversing the whole process and outputting the environment variable.
echo -n ${APPS_JSON_BASE64} | base64 -d
5.5 Building the Image
The tag later outputs the version used for docker. You can come up with something of your own here, but I would specify the erpnext version so that it is the same as erpnext.
Example: my-erpnext-prod-image:16.0.0
In this example, everything is executed within
frappe-docker.
docker build \
--build-arg=FRAPPE_PATH=https://github.com/frappe/frappe \
--build-arg=FRAPPE_BRANCH=version-16 \
--build-arg=APPS_JSON_BASE64=$APPS_JSON_BASE64 \
--tag=my-erpnext-prod-image:16.0.0 \
--file=images/layered/Containerfile .
 Create Docker Compose
This Docker Compose is used to define our required containers for ERPnext redis and the workers.
6.1 Creating the .env file
Create a .env file for the ERPNext instance under ~/gitops.
The template is used to create a copy for this purpose.
cp example.env ~/gitops/my-erpnext-prod.env
6.2 Filling the .env file
A few values are already set in the copied .env file these must be adjusted to our setup.
6.2.1 Set MariaDB password and host
The changeit is the password that we entered in the MariaDB .env in the step above.
In most cases, the rest does not need to be adjusted unless your MariaDB container has a different name or you are using a different port.
sed -i 's/DB_PASSWORD=123/DB_PASSWORD=changeit/g' ~/gitops/my-erpnext-prod.env

sed -i 's/DB_HOST=/DB_HOST=mariadb-database/g' ~/gitops/my-erpnext-prod.env

sed -i 's/DB_PORT=/DB_PORT=3306/g' ~/gitops/my-erpnext-prod.env
6.2.2 Specify the domain and network
Here we specify the domain under which our ERPNext instance should be accessed.
sed -i 's/SITES_RULE=Host(`erp.example.com`)/SITES_RULE=Host(`erp.your-domain.com`)/g' ~/gitops/my-erpnext-prod.env
These commands set up the network for docker.
echo 'ROUTER=erpnext-prod' >> ~/gitops/my-erpnext-prod.env

echo "BENCH_NETWORK=erpnext-prod" >> ~/gitops/my-erpnext-prod.env
6.2.3 Specify our image
The previously specified image name and version are specified here. The image name and version are specified separately.
In our example, my-erpnext-prod-image:16.0.0 becomes my-erpnext-prod-image and 16.0.0.
echo "CUSTOM_IMAGE=my-erpnext-prod-image" >> ~/gitops/my-erpnext-prod.env

echo "CUSTOM_TAG=16.0.0" >> ~/gitops/my-erpnext-prod.env
If necessary, I can go into more detail about how to build the Docker in a pipeline, make it available in your own registry, and pull it using Docker without having to build the image locally.
6.3 Create the compose
The following command creates the compose, populates it with the appropriate images, and configures it with the data from the my-erpnext-prod.env
docker compose --project-name erpnext-prod --env-file ~/gitops/my-erpnext-prod.env -f compose.yaml -f overrides/compose.redis.yaml -f overrides/compose.multi-bench.yaml -f overrides/compose.multi-bench-ssl.yaml config > ~/gitops/my-erpnext-prod.yaml
There should now be a generated docker compose yaml file that uses our built image and receives automatic routing to the domain and SSL via treafik.
 Starting Docker Compose
With this command, we now start Docker Compose.
The -d flag ensures that the containers continue to run when the shell connection is disconnected. (In detached mode)
docker compose --project-name erpnext-prod -f ~/gitops/my-erpnext-prod.yaml up -d
The containers should now be running, including one called backend.
 Creating the page and installing apps
Finally, we need to create our desired page in the backend container and install our previous apps on this site.
8.1 Create site
Here we create our page erp.your-domain.com in the backend container.
docker compose --project-name erpnext-prod exec backend bench new-site --mariadb-user-host-login-scope=% erp.your-domain.com
It is also possible to do this using a single command without user input. All roads lead to Rome here.
docker compose --project-name erpnext-prod exec backend bench new-site --mariadb-user-host-login-scope=% --db-root-password changeit --install-app erpnext --admin-password AdminPassword erp.your-domain.com
Change changeit and AdminPassword
At this point, the changeit is the password from the MariaDB step again, and the admin password can be set here and is used to authenticate the administrator.
8.2 Installing Apps
This can be skipped if ERPnext was already installed when the page was created (–install-app erpnext).
docker compose --project-name erpnext-prod exec backend bench --site erp.your-domain.com install-app payments
docker compose --project-name erpnext-prod exec backend bench --site erp.your-domain.com install-app erpnext
 Have fun
Start your browser, navigate to your specified domain, and you can now use ERPnext.
Traefik takes care of the Let’s Encrypt certificate. This may take a while depending on the domain name registrar, but should normally be possible within 5 minutes.
I hope this helps if you want to run ERPNext using Docker in a production environment.
I will try to add pictures of each step to better illustrate the individual steps, but I think this is a good start. If you have any comments or if there are any errors, please let me know.
Best regards,
RocketQuack
Sources