This guide will walk you through the process of setting up Frappe/ERPNext for a development environment on Apple Silicon. Follow these steps carefully to ensure a smooth setup.
It follows the official Frappe installation docs for macOS and Frappe version-16, with a few extras that matter in practice on a Mac (shared MariaDB 10.6 for multi-version benches, MariaDB charset config, WeasyPrint libraries, and the background-worker workaround).
For production on a VPS or bare metal, use a dedicated Ubuntu self-hosting guide instead. Do not treat this macOS setup as a production deployment.
ERPNext is built on top of the Frappe Framework. A local development bench needs several pieces of software:
- MariaDB: stores your site data
- Redis: used for caching and background job queues (bench also starts its own Redis processes from the Procfile)
- Node.js and Yarn: build and serve front-end assets, including Socket.IO
- Chromium, wkhtmltopdf, and WeasyPrint: generate PDFs (see below)
- Python and uv: run the backend and install Bench plus Python dependencies
- Git: clone app repositories
- frappe-bench: CLI that creates and manages benches, sites, and apps
Prerequisites
- Administrator access: Some commands need administrative privileges.
- Terminal: Run all commands in Terminal (zsh is the macOS default).
1. Setting up the environment as administrator
For the following commands, you’ll need a user with administrative privileges.
1.1 Install Xcode Command Line Tools
macOS needs the Xcode Command Line Tools for compilers, headers, and git. Install them before Homebrew:
xcode-select --install
A dialog asks you to confirm. Wait until the installation finishes before continuing. You can check that the tools are present with:
xcode-select -p
1.2 Install Homebrew
Homebrew is the package manager used for system dependencies on macOS:
/bin/bash -c "$(curl -fsSL https://raw.githubusercontent.com/Homebrew/install/HEAD/install.sh)"
Homebrew may print extra commands at the end so that brew is on your PATH. Run those if prompted.
1.3 Allow Homebrew for a non-admin user (optional)
If you want to run your bench as a non-admin user, that user needs access to everything inside /opt/homebrew/. Run brew doctor as the non-admin user, then execute the suggested ownership commands as the admin user.
2. Setting up the user environment
The following commands can (mostly) be run as a normal, non-privileged user. Setting up ERPNext for the admin user is fine as well and a bit easier.
2.0 (Optional) Install Oh My Zsh
Zsh is the default shell on modern macOS. Oh My Zsh is a framework for managing your Zsh configuration. It comes with plugins and themes that make the terminal more pleasant — for example showing the current Git branch, better autocompletion, and easier access to command history.
sh -c "$(curl -fsSL https://raw.githubusercontent.com/ohmyzsh/ohmyzsh/master/tools/install.sh)"
2.1 Add Homebrew to your path
If you’re using zsh and brew is not already available, add Homebrew to your path. Other shells need equivalent commands.
echo 'eval "$(/opt/homebrew/bin/brew shellenv)"' >> ~/.zshrc
eval "$(/opt/homebrew/bin/brew shellenv)"
2.2 Install wkhtmltopdf (legacy / multi-version)
Frappe version-16 and newer can generate print PDFs with Chromium (chrome PDF generator). Chromium is downloaded automatically into the bench on first use (<bench>/chromium/), so you do not install it with Homebrew.
You may still want wkhtmltopdf on a development Mac:
- Older benches (v14 / v15) still rely on it.
- Individual Print Format records can still select “wkhtmltopdf” as the PDF generator.
- Existing print formats written for wkhtmltopdf keep working without changes.
Frappe expects wkhtmltopdf 0.12.6 with patched Qt. It is deprecated on Homebrew, so install the official package instead.
There is no Apple Silicon binary, so install Rosetta first:
softwareupdate --install-rosetta --agree-to-license
Then install the official macOS package:
curl -L https://github.com/wkhtmltopdf/packaging/releases/download/0.12.6-2/wkhtmltox-0.12.6-2.macos-cocoa.pkg -O
installer -pkg wkhtmltox-0.12.6-2.macos-cocoa.pkg -target ~
wkhtmltopdf --version
It should report wkhtmltopdf 0.12.6 (with patched qt).
If this Mac will only ever run Frappe version-16 or newer, and you are fine using Chromium for print PDFs, you can skip wkhtmltopdf.
2.3 Install essential packages
Choosing a MariaDB version
On a development Mac you usually run one MariaDB server and point many benches at it. Python and Node.js can differ per bench; MariaDB typically cannot, unless you run multiple database servers on different ports.
Official Frappe installation docs list:
| Frappe version | Documented MariaDB |
|---|---|
| v14 / v15 | 10.6.6+ |
| v16 / develop | 11.8 |
For best compatibility across v14, v15, v16, and develop on the same machine, install MariaDB 10.6 (10.6.6 or newer patch releases):
- It is the documented minimum for v14 and v15.
- Frappe v16 works on 10.6 in practice for normal ERPNext development.
- You avoid MariaDB 11.x differences that can surprise older benches (version warnings,
innodb_snapshot_isolation, obsolete 10.6-era server flags).
Install MariaDB 11.8 only if this Mac will host v16/develop exclusively, or if you specifically need 11.8-only features (for example native VECTOR search). In that case, replace [email protected] with [email protected] in the commands below and adjust the PATH accordingly.
This guide continues with [email protected].
Packages
Install the remaining packages:
brew install redis [email protected] pkg-config mariadb-connector-c
What these are for:
- redis: key-value store used for caching and queues
- [email protected]: shared database server for local benches (see above)
- pkg-config and mariadb-connector-c: needed so Python packages such as
mysqlclientcan find MariaDB headers and libraries when the bench virtualenv is built
git is already available from the Xcode Command Line Tools installed earlier.
Frappe also uses WeasyPrint for some PDF output. On macOS, install its system libraries as well:
brew install pango libffi
Follow Homebrew’s instructions for adding MariaDB to your $PATH. For zsh:
echo 'export PATH="/opt/homebrew/opt/[email protected]/bin:$PATH"' >> ~/.zshrc
source ~/.zshrc
Redis from Homebrew is usually linked into /opt/homebrew/bin already.
2.4 Secure MariaDB
Start MariaDB. During installation you may be prompted for a root password. If you are not prompted, secure the installation yourself:
brew services start [email protected]
sudo mariadb-secure-installation
Only run mariadb-secure-installation if you were not already prompted for a password during setup. Choose a long, unique root password and store it in a password manager. bench new-site will ask for this password later when it creates the site database and database user.
2.5 Configure MariaDB character sets
Ensure MariaDB uses the character sets Frappe expects. Create /opt/homebrew/etc/my.cnf.d/frappe.cnf with:
[mysqld]
character-set-client-handshake = FALSE
character-set-server = utf8mb4
collation-server = utf8mb4_unicode_ci
bind-address = 127.0.0.1

[mysql]
default-character-set = utf8mb4
bind-address = 127.0.0.1 keeps MariaDB reachable only from your machine, which is appropriate for local development.
Restart MariaDB to apply the changes, then check the character set:
brew services restart [email protected]
mariadb -u root -p -e "
SHOW VARIABLES
WHERE Variable_name IN (
    'character_set_server',
    'collation_server'
);
"
The values should be utf8mb4 and utf8mb4_unicode_ci.
2.6 Install NVM, Node.js 24, and Yarn
NVM lets you install and switch between Node.js versions. Frappe version-16 requires Node.js 24 or newer. Yarn installs the front-end JavaScript dependencies.
curl -o- https://raw.githubusercontent.com/nvm-sh/nvm/v0.40.3/install.sh | bash
Restart the terminal or source your shell rc file (for example ~/.zshrc), then:
nvm install 24
npm install -g yarn
node -v
yarn --version
The commands should report Node.js 24 and Yarn 1.22+.
2.7 Install uv and Python 3.14
uv installs Python interpreters and Python tools in isolated environments, without relying on Homebrew’s Python formula. Install uv with the official installer:
curl -LsSf https://astral.sh/uv/install.sh | sh
Restart the terminal or source your shell rc file so that ~/.local/bin is on your PATH, then install Python 3.14:
uv python install 3.14 --default
uv --version
python3.14 --version
For Frappe version-15, install a Python from the 3.10–3.13 range instead.
2.8 Install the frappe-bench CLI
The frappe-bench CLI creates and manages benches, sites, and apps:
uv tool install frappe-bench
bench --version
Bench uses uv by default for the bench virtual environment and its Python dependencies. Do not set BENCH_DISABLE_UV.
You no longer need a separate global honcho install; bench start brings up the processes defined in the Procfile.
2.9 Create a new bench
A bench is a directory that holds a collection of sites and apps. The directory can have any name you like. Create it anywhere you prefer, for example under ~/Code/bench:
mkdir -p ~/Code/bench
cd ~/Code/bench

# --no-backups avoids configuring crontab, which needs higher privileges on macOS
bench init version-16 \
    --frappe-branch version-16 \
    --python python3.14 \
    --no-backups
cd version-16
The --frappe-branch flag selects the Frappe Framework major version. The --python flag selects the Python executable used for the bench virtualenv.
The directory structure of your bench will look like this:
version-16/
    apps/
    config/
    env/
    logs/
    sites/
    Procfile
apps/holds the Frappe apps installed on this benchconfig/holds generated config snippets (for example Redis)env/is the Python virtual environment with backend dependencieslogs/holds process and application logssites/holds each site’s configuration, private files, and public filesProcfilelists the processes thatbench startruns in development
2.10 Get ERPNext and create a site
bench init only installed the Frappe Framework. Download ERPNext next, then create a site and install ERPNext onto it:
bench get-app erpnext --branch version-16
bench new-site dev.localhost --install-app erpnext
The --branch flag should match the Frappe version you installed. bench new-site will prompt for the MariaDB root password, then create a database and database user for the site.
You should see a new directory under sites/ named after the site. Its structure looks like this:
sites/dev.localhost/
    site_config.json
    private/
    public/
site_config.json holds site settings such as the database credentials and the encryption_key used for sensitive data. private/ holds backups and uploads that must not be publicly accessible. public/ holds uploads that may be served publicly.
Because bench has a multi-tenant architecture (one bench can host many sites), choose how you want to address this site:
# Option A: set a default site for bench commands and http://127.0.0.1:8000
bench use dev.localhost

# Option B: resolve the hostname locally
bench --site dev.localhost add-to-hosts
bench use lets you omit --site in later commands. bench add-to-hosts tells your local DNS resolver that dev.localhost points at your machine.
Once this is done, start the development stack:
bench start
3. Accessing your site
After bench start, the site should be available at:
- http://127.0.0.1:8000 if you used
bench use - http://dev.localhost:8000 if you used
bench add-to-hosts
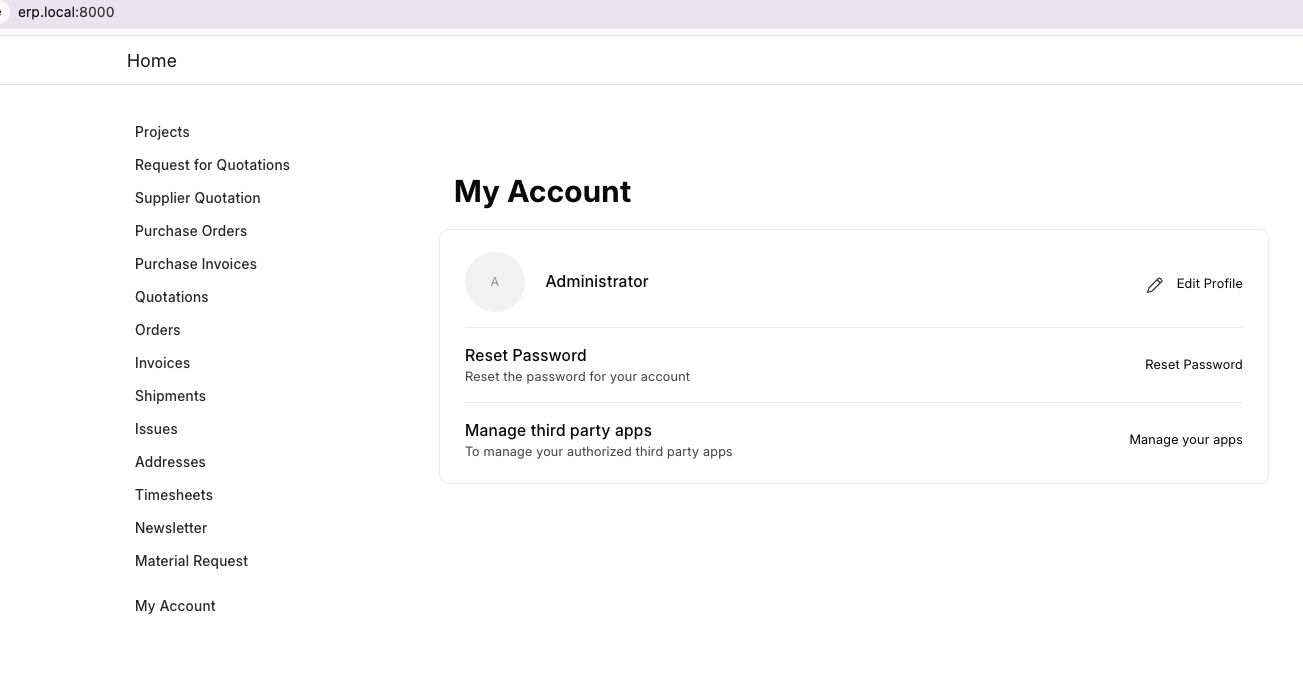
Default login is user Administrator. Use the password you chose during bench new-site.
4. macOS-specific notes
4.1 Background worker crashes on macOS
Older guides recommended exporting this in your shell:
export OBJC_DISABLE_INITIALIZE_FORK_SAFETY=YES
That workaround is obsolete for current Frappe. If workers crash with fork/thread errors on macOS, replace the default bench worker line in your Procfile with the no-fork worker pool:
worker: FRAPPE_BACKGROUND_WORKERS_NOFORK=1 NO_PROXY=* bench worker-pool --num-workers 1 1>> logs/worker.log 2>> logs/worker.error.log
Then run bench start again.
4.2 Always use the right Node.js version
When you have multiple Node.js versions installed, you have to run nvm use before commands like bench build. To avoid that, link Node and Yarn into the bench virtualenv:
nvm use 24
ln -sf "$(which node)" env/bin/node
ln -sf "$(which yarn)" env/bin/yarn
After source env/bin/activate, the bench uses not only the correct Python but also the linked Node.js and Yarn. You can also put 24 in a .nvmrc file at the bench root and run nvm use there.
4.3 Verify PDF generation
Frappe can generate PDFs in several ways:
- Chromium (v16+): selected per Print Format via PDF Generator “chrome”. On first use, Frappe downloads a headless Chromium build into
<bench>/chromium/. - wkhtmltopdf: still available for older formats and older Frappe versions.
- WeasyPrint: used for some other PDF output in the framework.
After the site is up, you can smoke-test the engines you installed:
# Only if you installed wkhtmltopdf
wkhtmltopdf --version

./env/bin/python - <<'PY'
from weasyprint import HTML
pdf = HTML(string="<h1>ERPNext PDF test</h1>").write_pdf()
assert pdf.startswith(b"%PDF")
print("WeasyPrint PDF generation works")
PY
To exercise Chromium, open a document print view in the desk and download a PDF from a Print Format that uses “chrome”, or trigger print/PDF from the UI once. The first run may download Chromium into the bench.
If WeasyPrint fails, confirm pango, libffi, and pkg-config are installed via Homebrew.
5. Install ERPNext version 15 instead
The main path intentionally targets version-16. If you need a version-15 development bench, use a Python from 3.10–3.13 and Node.js 18 or newer. Do not mix those Python and Node.js versions into a version-16 bench.
Example with Python 3.11 and Node.js 22:
uv python install 3.11
nvm install 22
nvm use 22
npm install -g yarn

bench init version-15 \
    --frappe-branch version-15 \
    --python python3.11 \
    --no-backups
cd version-15
bench get-app erpnext --branch version-15
bench new-site dev15.localhost --install-app erpnext
Keep using the shared MariaDB 10.6 server from the main path. You do not need a second database install for version 15.
6. Useful follow-up commands
Apps from Frappe can be fetched by name. Other apps can be fetched by repository URL:
bench get-app https://github.com/alyf-de/erpnext_germany --branch version-16
bench --site dev.localhost install-app erpnext_germany
bench --site dev.localhost list-apps
bench build
bench migrate
bench clear-cache
get-app only downloads the app onto the bench. install-app installs it into a specific site so you can use it there.
To update apps on an existing development bench:
bench update --reset
That command does the following:
- Pulls the latest changes from the app repositories (
--resetoverwrites local commits on tracked branches) - Updates Python and Node.js dependencies
- Runs database migration patches
- Builds front-end assets
- Compiles translation files
- Clears the cache
- Restarts services
Each of those steps can also be run individually when you want more control.