Introduction
ERPNext is a robust open-source Enterprise Resource Planning (ERP) system that provides businesses with a powerful platform to streamline their operations. One of the fundamental tasks in ERPNext is the creation of items, which encompass products, services, raw materials, and any other tangible or intangible assets your business deals with. A well-organized item management process is crucial for maintaining accurate inventory, optimizing procurement and sales, and enabling efficient financial management. In this unique and detailed guide, we will walk you through the step-by-step process of creating items in ERPNext, providing in-depth explanations for each field.
Step 1: Accessing the Items Module
To start creating items in ERPNext, you must first access the Items module. Log in to your ERPNext account using the appropriate credentials. Upon successful login, navigate to the “Desk” icon located at the top left corner of the screen. Click on it to access the main control center. Within the Desk, locate and select the “Items” icon, typically represented by a briefcase. This action will open the Items module, and you will be ready to proceed with item creation.
Step 2: Creating a New Item
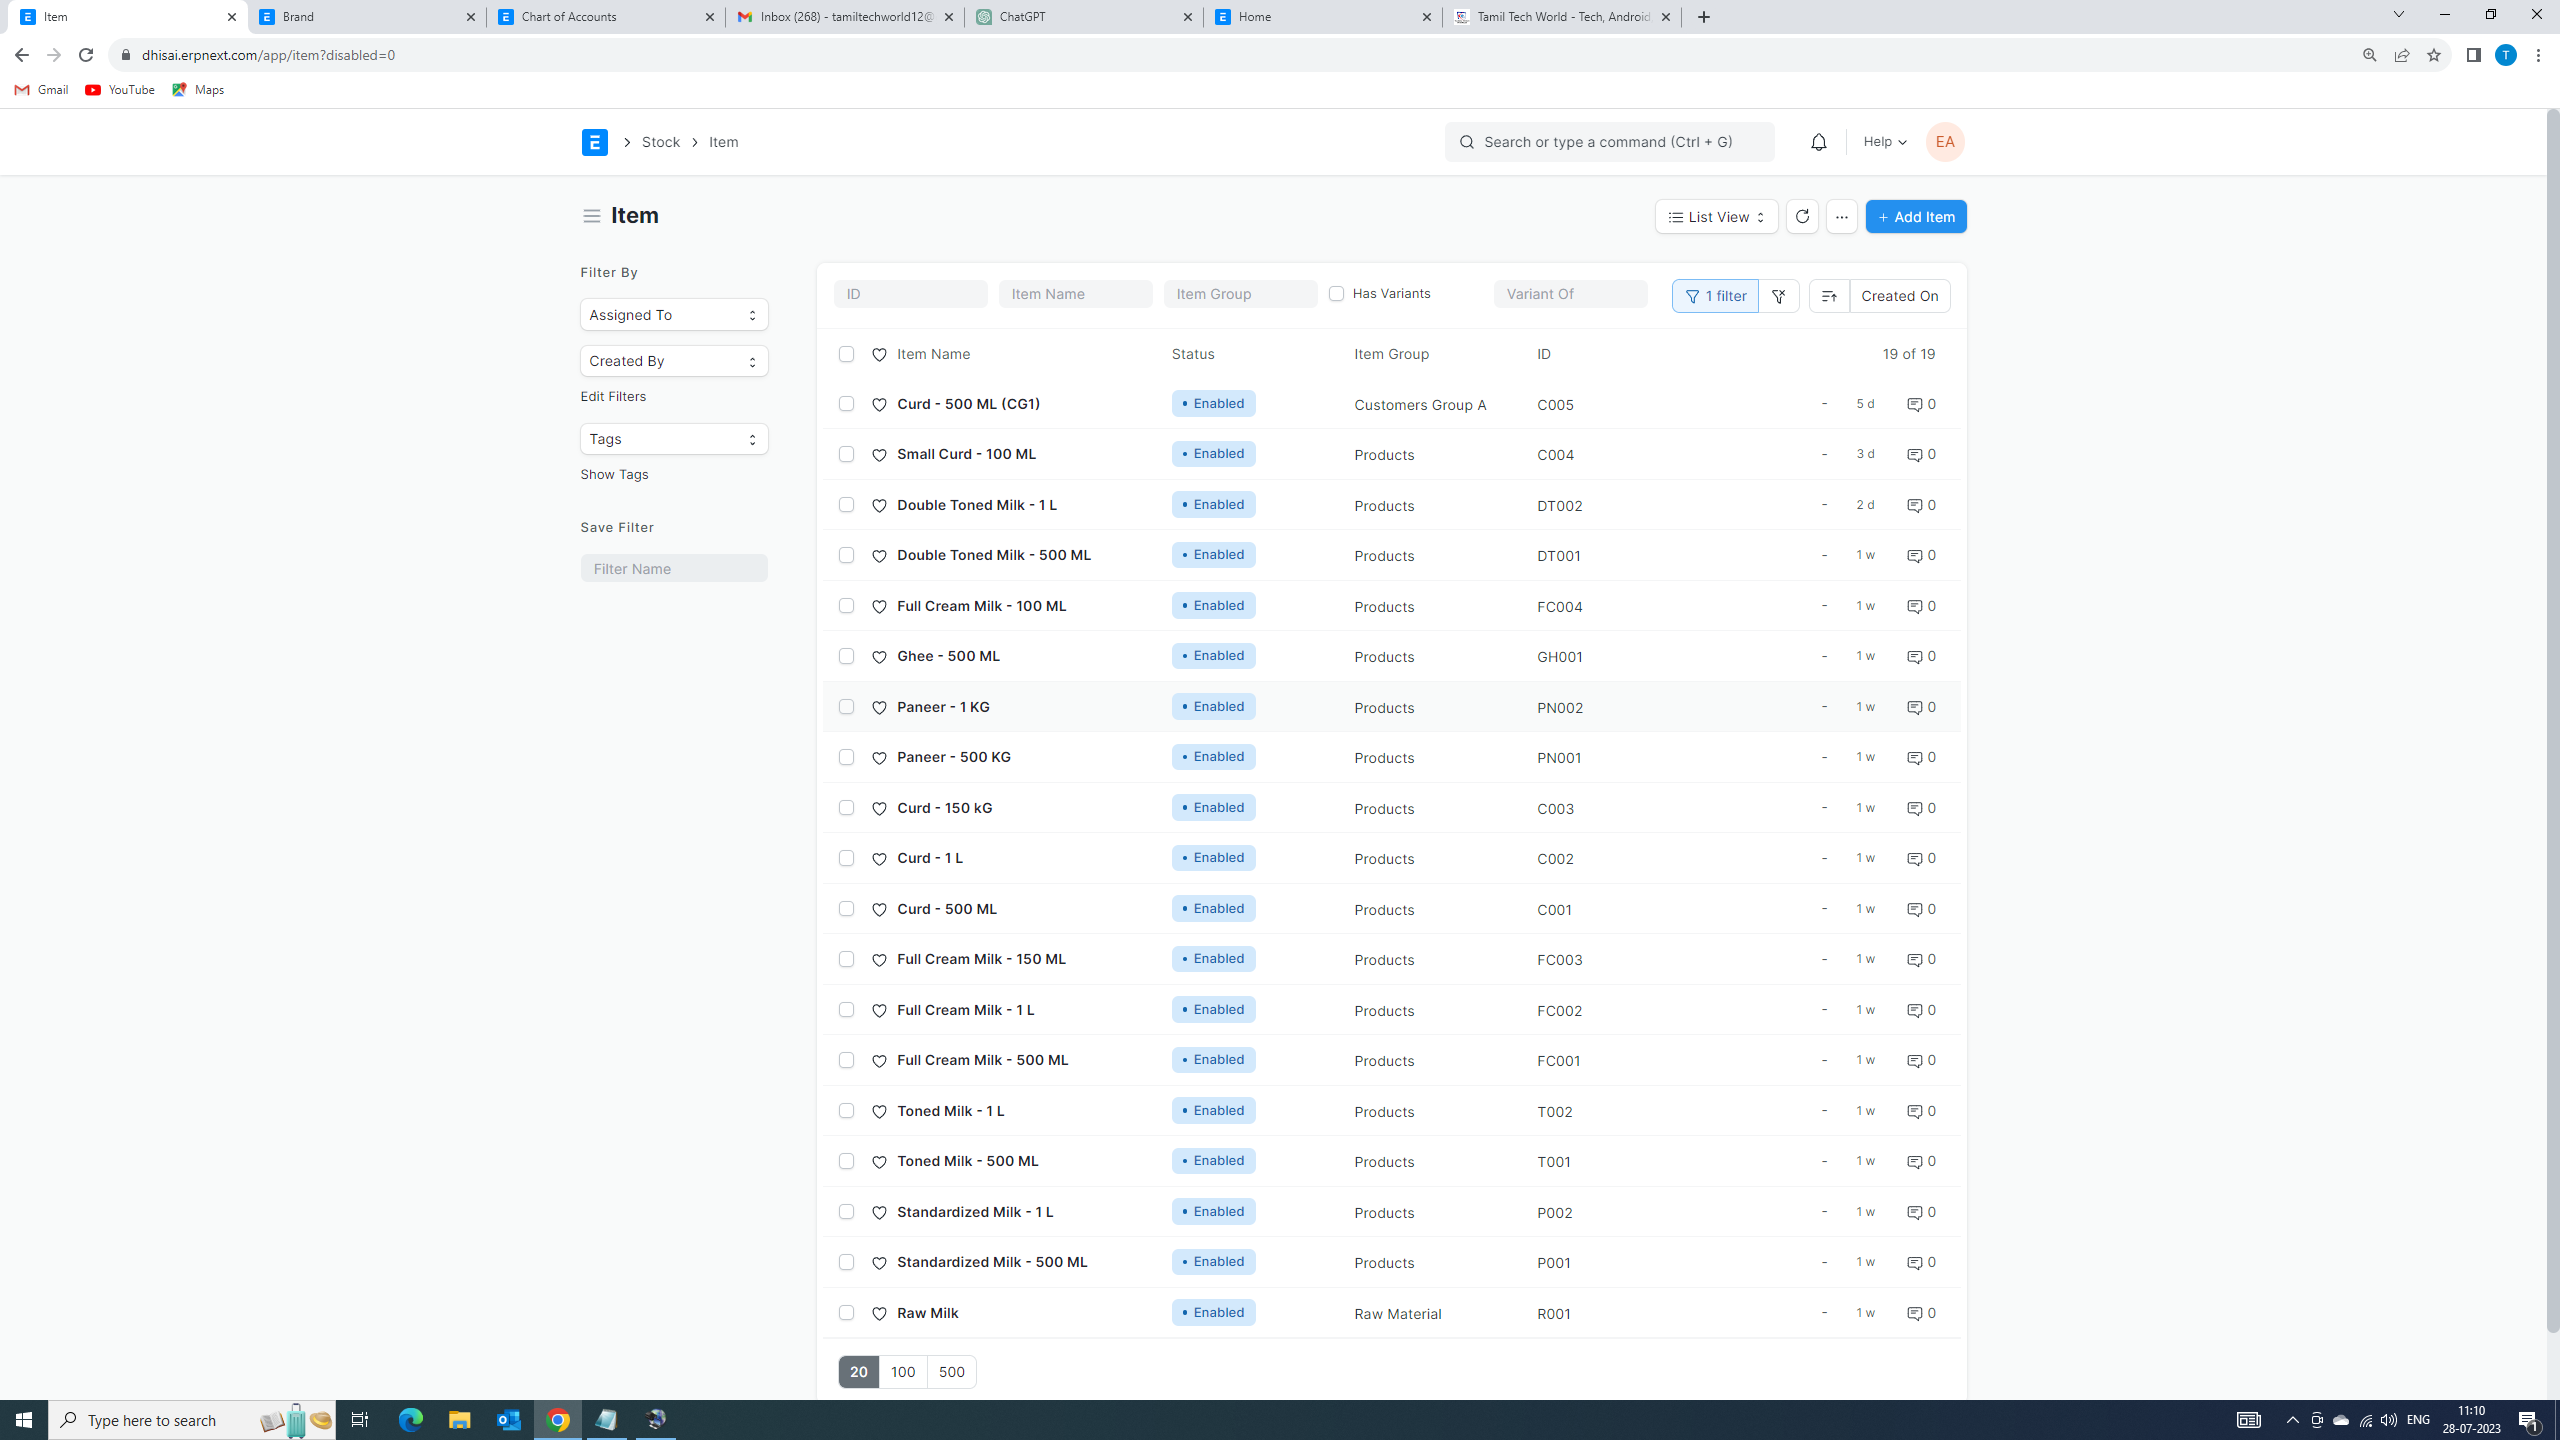
Within the Items module, you’ll find a list of existing items if any have been created previously. To add a new item, click on the “+ New” button situated on the right side of the screen. By clicking this button, a blank form will appear, providing you with a fresh canvas to input the details of the new item.
Step 3: Basic Information
The initial set of information you need to provide pertains to the basic attributes of the item. Here’s a breakdown of each field:
Item Code: This unique code serves as the identifier for the item within your ERP system. Carefully choose a code that is distinct and meaningful, as it will be used in various processes throughout the system.
Item Group: Select the appropriate group that categorizes the item. Organizing items into groups helps with easy classification and simplifies inventory management. Common item groups might include “Electronics,” “Furniture,” “Raw Materials,” or any other relevant categories.
Item Name: Provide a descriptive name for the item. The item name should be easily recognizable and informative for both you and your team members.
Description: Add a detailed description of the item, including its features, specifications, and potential use cases. This comprehensive description ensures that everyone accessing the item record gains a clear understanding of its purpose and attributes.