In this i will show how to add a button in Sales Order Items table to allow selecting and inserting al variants of a template easily.
In the below code you will find good example to :
1 - Hooking client side scripts to existing DocTypes without touching the original code.
2- Using MultiSelectDialog to collect he users selecctions.
3- Adding button to child tables.
Step 1:
Create a custom app with any name you choose. (here i name it IFP
Step 2:
In hooks.py file add the below code :
doctype_js = {
	"Sales Order" : "public/js/sales_order.js"
}
this will command the system to run the mentioned file sales_order.js with the original sales order client script.
For more infomration about this please refer to
Override Client Script
you can change or add more doctypes like Purchase Order … etc.
Step 3:
create a new file in your app older under public/js and name the file sales_order.js and insert the below code in it. (change Sales Order in the begining if you will use for another DocType)
frappe.ui.form.on('Sales Order', {
refresh(frm) {
frm.add_custom_button(__('Template Variants'), function() {
add_template_variants(frm);
}, __("Add"));*/
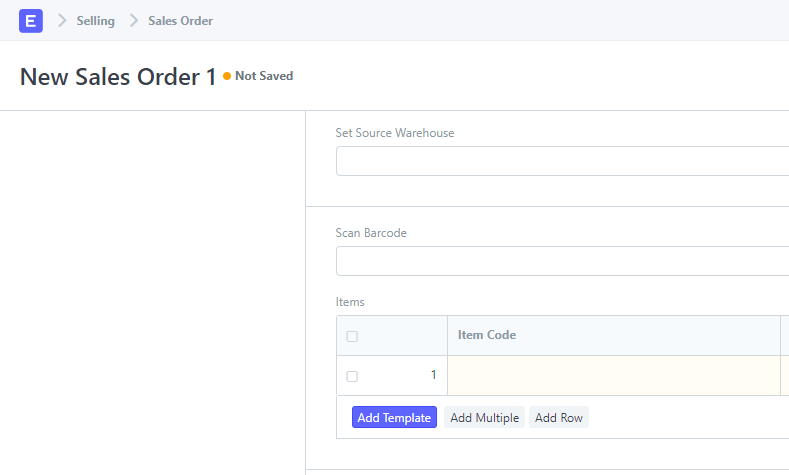
frm.fields_dict["items"].grid.add_custom_button(__('Add Template'),
function() {
add_template(frm);
});
frm.fields_dict["items"].grid.grid_buttons.find('.btn-custom').removeClass('btn-default').addClass('btn-primary');
}
})
var add_template = function(frm){
if (!frm.doc.customer){
frappe.throw(__('Please select customer first'))
}
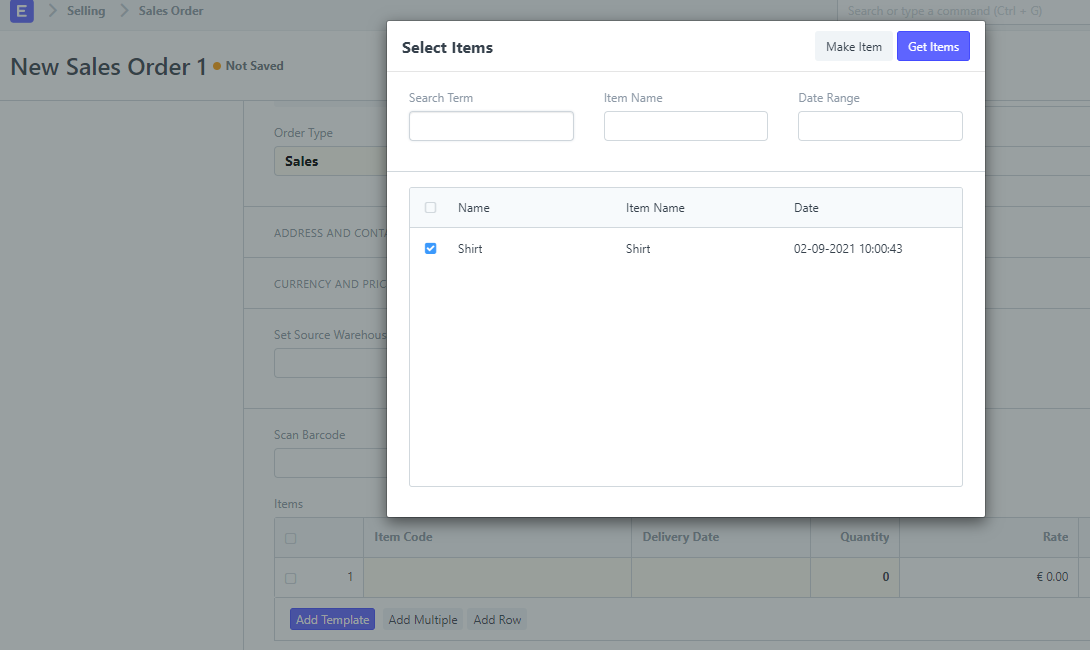
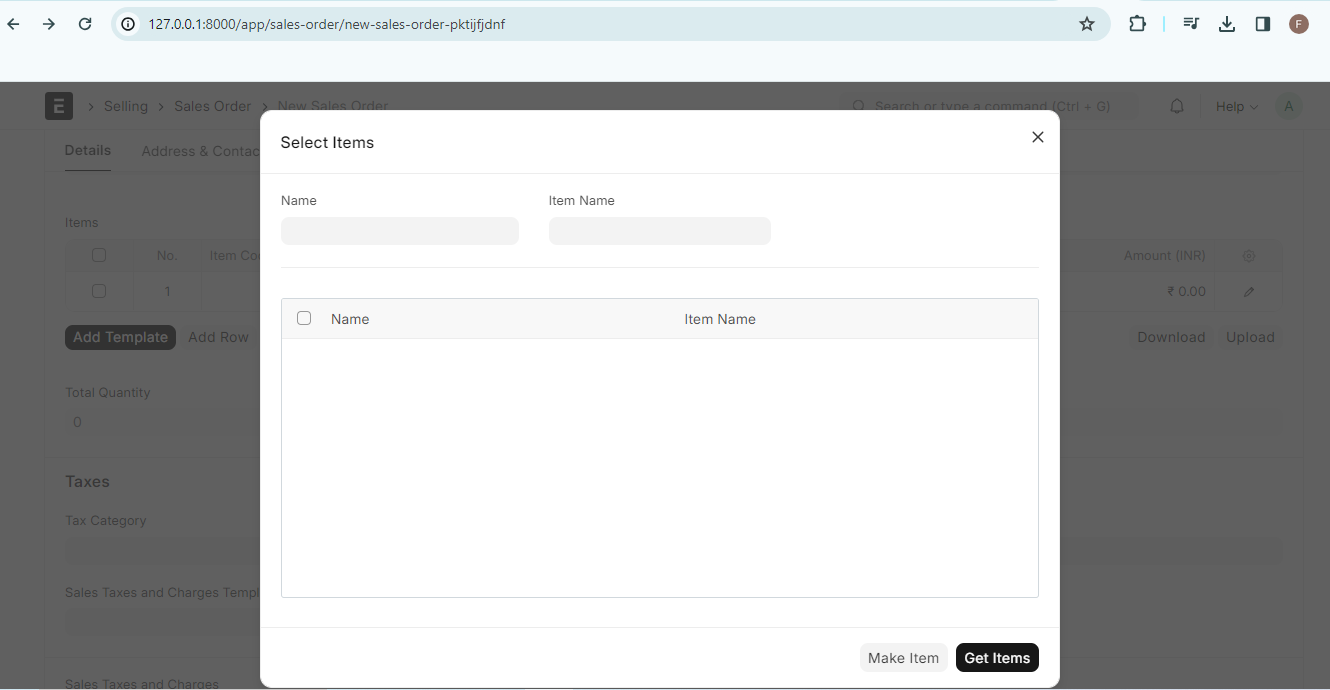
new frappe.ui.form.MultiSelectDialog({
doctype: "Item",
target: cur_frm,
setters: [{
fieldname: 'item_name',
fieldtype: 'Data',
label: __('Item Name')
}],
data_fields: [],
date_field: "creation",
get_query() {
return {
filters: {
has_variants: ['=', '1']
}
};
},
action(selections) {
if(selections.length == 0){
}else{
for (var ia = 0; ia < selections.length; ia=ia+1) {
frappe.call({
method: "ifp.ifp_utils.get_template_variants",
args: {
template: selections[ia]
},
callback: function(res){
if (res && res.message){
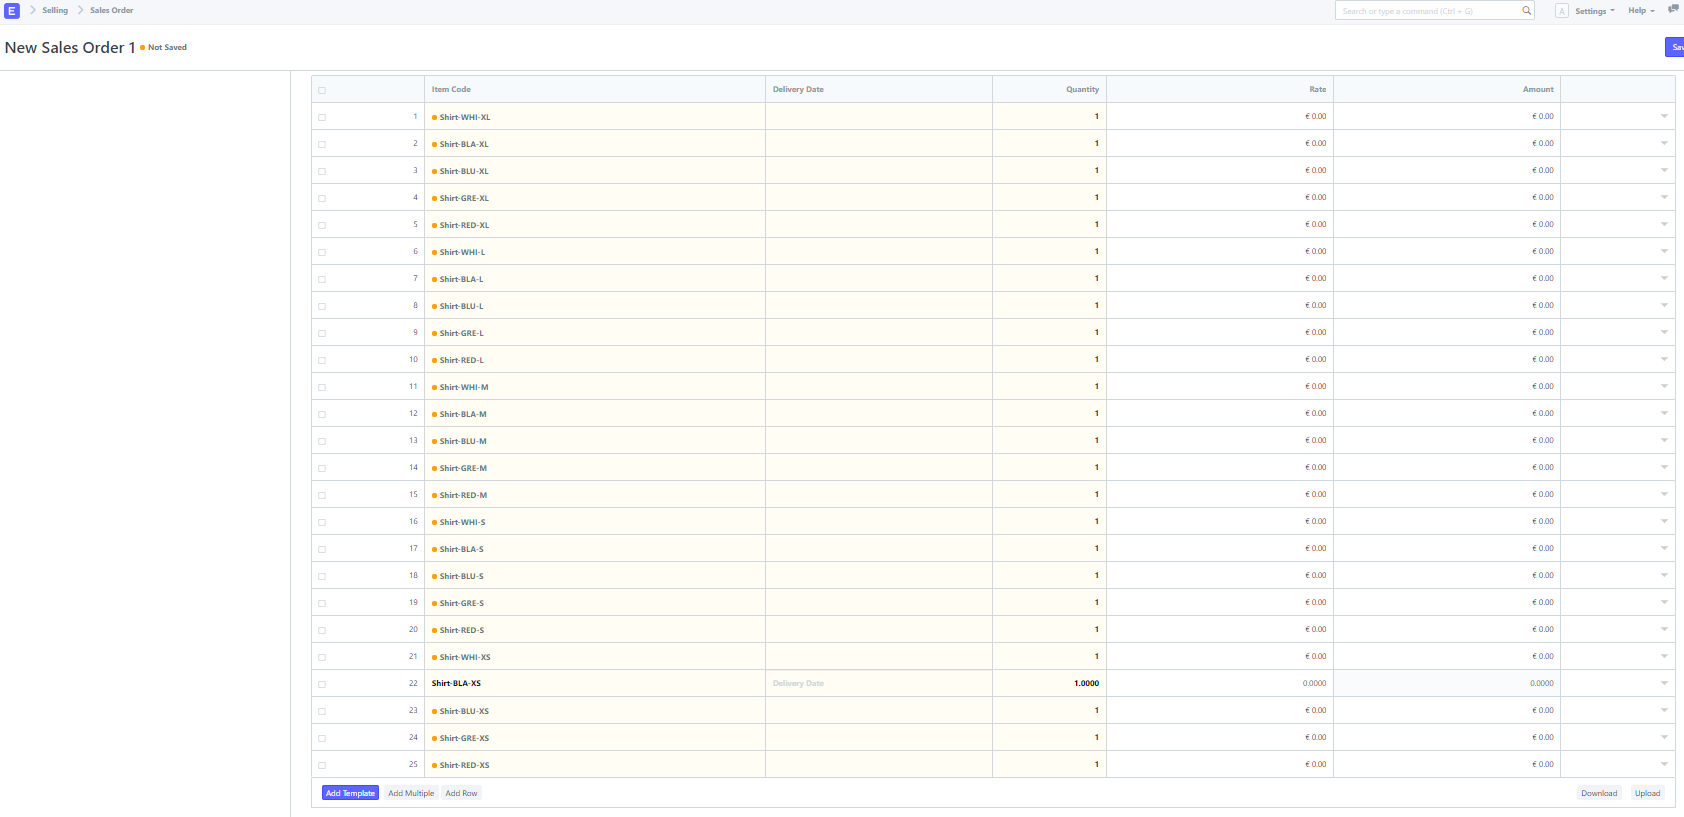
for (var i = 0; i<res.message.length; i=i+1) {
var tflag=0;
$.each(frm.doc.items || [], function(r, row) {
if (row){
if (row.item_code == res.message[i].name){
tflag=1;
};
}
})
if (tflag==0){
var row = frm.add_child("items");
frappe.model.set_value(row.doctype, row.name, 'item_code', res.message[i].name)
frappe.model.set_value(row.doctype, row.name, 'qty', 1)
}
}
}
}
})
}
frm.refresh_field('items');
cur_dialog.hide();
}
}
});
}
Step 4:
in the same directory where hooks.py existing , create a new file named ifp_utils.py and insert below code in it:
from __future__ import unicode_literals
from frappe import publish_progress
import frappe
import json

@frappe.whitelist()
def get_template_variants(template):
    return frappe.db.get_all('Item', filters = {'variant_of': template}, fields =['name'], as_list = False)
Step 5:
Install the app in your site and start to use.
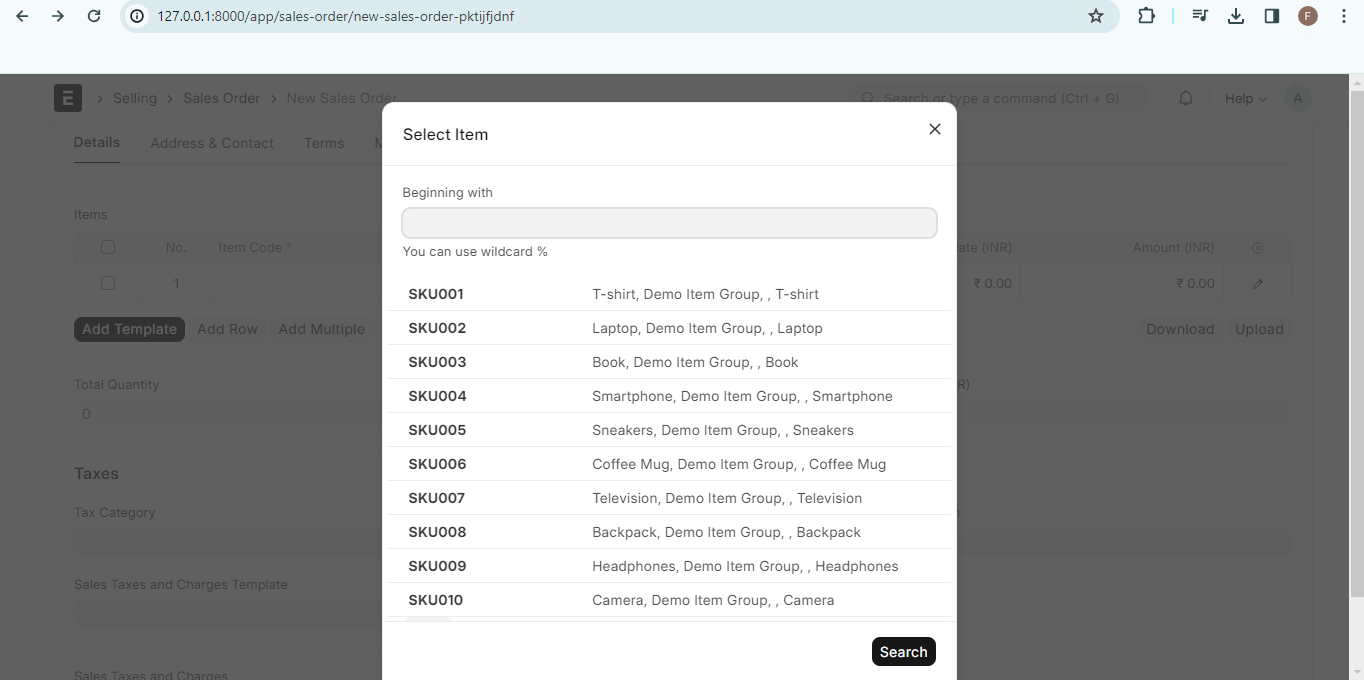
Results :