ERPNext-installation-Guide The complete guide to install ERPNext in your Ubuntu system

Thanks to this Github page for the process : GitHub - D-codE-Hub/ERPNext-installation-Guide: The complete guide to install ERPNext in your Ubuntu system

Pre-requisites

  Python 3.6+
  Node.js 14+
  Redis 5                                       (caching and real time updates)
  MariaDB 10.3.x / Postgres 9.5.x               (to run database driven apps)
  yarn 1.12+                                    (js dependency manager)
  pip 20+                                       (py dependency manager)
  wkhtmltopdf (version 0.12.5 with patched qt)  (for pdf generation)
  cron                                          (bench's scheduled jobs: automated certificate renewal, scheduled backups)
  NGINX                                         (proxying multitenant sites in production)

STEP 1 Install git

Git is the most commonly used version control system. Git tracks the changes you make to files, so you have a record of what has been done, and you can revert to specific versions should you ever need to. Git also makes collaboration easier, allowing changes by multiple people to all be merged into one source.

sudo apt-get install git

STEP 2 install python-dev

python-dev is the package that contains the header files for the Python C API, which is used by lxml because it includes Python C extensions for high performance.

sudo apt-get install python3-dev

STEP 3 Install setuptools and pip (Python’s Package Manager).

Setuptools is a collection of enhancements to the Python distutils that allow developers to more easily build and distribute Python packages, especially ones that have dependencies on other packages. Packages built and distributed using setuptools look to the user like ordinary Python packages based on the distutils.

pip is a package manager for Python. It’s a tool that allows you to install and manage additional libraries and dependencies that are not distributed as part of the standard library.

sudo apt-get install python3-setuptools python3-pip

STEP 4 Install virtualenv

virtualenv is a tool for creating isolated Python environments containing their own copy of python , pip , and their own place to keep libraries installed from PyPI. It’s designed to allow you to work on multiple projects with different dependencies at the same time on the same machine.

sudo apt-get install virtualenv

STEP 5 Install MariaDB 10.3 stable package

MariaDB is developed as open source software and as a relational database it provides an SQL interface for accessing data.

open this link

https://downloads.mariadb.org/mariadb/repositories/#mirror=piconets

For ubuntu 20.04

sudo apt-get install software-properties-common
sudo apt-key adv --fetch-keys 'https://mariadb.org/mariadb_release_signing_key.asc'
sudo add-apt-repository 'deb [arch=amd64,arm64,ppc64el] https://ftp.icm.edu.pl/pub/unix/database/mariadb/repo/10.3/ubuntu focal main'
sudo apt update
sudo apt install mariadb-server

IMPORTANT :During this installation you’ll be prompted to set the MySQL root password. If you are not prompted for the same You can initialize the MySQL server setup by executing the following command

sudo mysql_secure_installation

STEP 6 MySQL database development files

sudo apt-get install libmysqlclient-dev

STEP 7 Edit the mariadb configuration ( unicode character encoding )

sudo nano /etc/mysql/my.cnf

add this to the my.cnf file

[mysqld]
character-set-client-handshake = FALSE
character-set-server = utf8mb4
collation-server = utf8mb4_unicode_ci

[mysql]
default-character-set = utf8mb4

Now press (Ctrl-X) to exit

sudo service mysql restart

STEP 8 install Redis

Redis is an open source (BSD licensed), in-memory data structure store, used as a database, cache, and message broker.

sudo apt-get install redis-server

STEP 9 install Node.js 14.X package

Node.js is an open source, cross-platform runtime environment for developing server-side and networking applications. Node.js applications are written in JavaScript, and can be run within the Node.js runtime on OS X, Microsoft Windows, and Linux.

sudo apt-get install curl
curl -sL https://deb.nodesource.com/setup_14.x | sudo -E bash -
sudo apt-get install -y nodejs

STEP 10 install Yarn

Yarn is a JavaScript package manager that aims to be speedy, deterministic, and secure. See how easy it is to drop yarn in where you were using npm before, and get faster, more reliable installs. Yarn is a package manager for JavaScript.

sudo npm install -g yarn

STEP 11 install wkhtmltopdf

Wkhtmltopdf is an open source simple and much effective command-line shell utility that enables user to convert any given HTML (Web Page) to PDF document or an image (jpg, png, etc)

sudo apt-get install xvfb libfontconfig wkhtmltopdf

if you have to setup production server go to Step 16 else continue

STEP 12 install frappe-bench

sudo -H pip3 install frappe-bench

IMPORTANT: you may wish to log out and log back into your terminal before next step and You must login.

bench --version

STEP 13 initilise the frappe bench & install frappe latest version

bench init frappe-bench --frappe-branch version-13

cd frappe-bench/
bench start

STEP 14 create a site in frappe bench

bench new-site dcode.com

STEP 15 install ERPNext latest version in bench & site

bench get-app erpnext --branch version-13
###OR
bench get-app https://github.com/frappe/erpnext --branch version-13

bench --site dcode.com install-app erpnext

bench start

Optional step for cratetind production setup

STEP 16 Create a new user

sudo adduser dcode-frappe
sudo usermod -aG sudo dcode-frappe
su - dcode-frappe

Follow the steps from Step 12 to Step 15

Step 17 setup production

sudo bench setup production dcode-frappe
bench restart

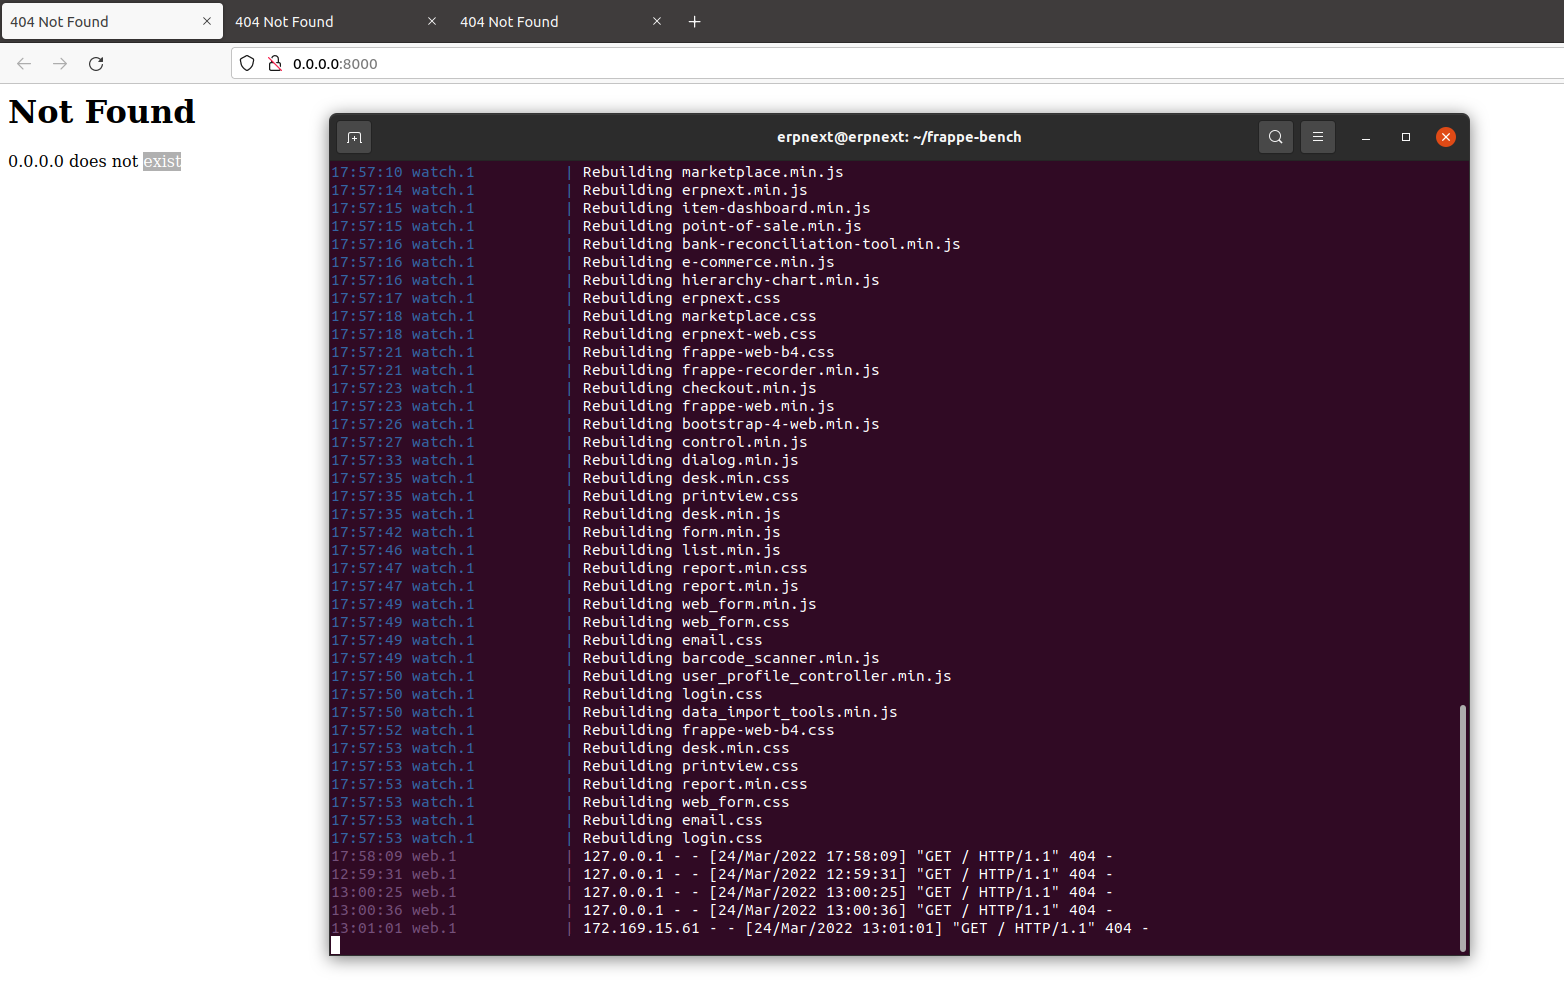
Open the 0.0.0.0 or server IP in web browser and login to production server

Port cofiguration for multiple site

  bench use sitename


Switch off DNS based multitenancy (once)

  bench config dns_multitenant off

Create a new site

  bench new-site site2name

Set port

   bench set-nginx-port site2name 82

Re generate nginx config

   bench setup nginx

Reload nginx

  sudo service nginx reload
  

Reload supervisor
  sudo service supervisor restart
16 Likes

Hello,

When I run this command I it is taking a hell of a time to download.
And I am getting this kind of output as shown below.

Reading package lists... Done
Building dependency tree       
Reading state information... Done
The following additional packages will be installed:
  galera-3 gawk libcgi-fast-perl libcgi-pm-perl libdbd-mysql-perl libdbi-perl libfcgi-perl libhtml-template-perl libmariadb3 libsigsegv2 libterm-readkey-perl
  mariadb-client-10.3 mariadb-client-core-10.3 mariadb-common mariadb-server-10.3 mariadb-server-core-10.3 socat
Suggested packages:
  gawk-doc libclone-perl libmldbm-perl libnet-daemon-perl libsql-statement-perl libipc-sharedcache-perl mailx mariadb-test tinyca
The following NEW packages will be installed:
  galera-3 gawk libcgi-fast-perl libcgi-pm-perl libdbd-mysql-perl libdbi-perl libfcgi-perl libhtml-template-perl libmariadb3 libsigsegv2 libterm-readkey-perl
  mariadb-client-10.3 mariadb-client-core-10.3 mariadb-common mariadb-server mariadb-server-10.3 mariadb-server-core-10.3 socat
0 upgraded, 18 newly installed, 0 to remove and 0 not upgraded.
Need to get 20.9 MB/24.8 MB of archives.
After this operation, 202 MB of additional disk space will be used.
Do you want to continue? [Y/n] y
Get:1 https://ftp.icm.edu.pl/pub/unix/database/mariadb/repo/10.3/ubuntu focal/main amd64 galera-3 amd64 25.3.34-focal [10.7 MB]                                             
Err:1 https://ftp.icm.edu.pl/pub/unix/database/mariadb/repo/10.3/ubuntu focal/main amd64 galera-3 amd64 25.3.34-focal
  Could not wait for server fd - select (11: Resource temporarily unavailable) [IP: 193.219.28.2 443]
Get:2 https://ftp.icm.edu.pl/pub/unix/database/mariadb/repo/10.3/ubuntu focal/main amd64 mariadb-server-core-10.3 amd64 1:10.3.32+maria~focal [5,950 kB]
Get:2 https://ftp.icm.edu.pl/pub/unix/database/mariadb/repo/10.3/ubuntu focal/main amd64 mariadb-server-core-10.3 amd64 1:10.3.32+maria~focal [5,950 kB]                    
Get:2 https://ftp.icm.edu.pl/pub/unix/database/mariadb/repo/10.3/ubuntu focal/main amd64 mariadb-server-core-10.3 amd64 1:10.3.32+maria~focal [5,950 kB]    

Any ideas as to how to proceed further and speed it up.

2 Likes

Probably I found a solution. I ran this command in terminal
sudo add-apt-repository 'deb [arch=amd64,arm64,ppc64el,s390x] https://mirrors.ukfast.co.uk/sites/mariadb/repo/10.3/ubuntu focal main'
After I ran the commands

sudo apt update
sudo apt install mariadb-server

Now it got installed.

Every time I use this command the installation seems to get hanged at

Rebuilding login.css

How to solve this?

Here is the complete output after issuing the command:

12:25:57 system           | redis_cache.1 started (pid=2834)
12:25:57 system           | socketio.1 started (pid=2839)
12:25:57 system           | watch.1 started (pid=2843)
12:25:57 system           | redis_socketio.1 started (pid=2849)
12:25:57 redis_cache.1    | 2837:C 06 Jan 2022 12:25:57.961 # oO0OoO0OoO0Oo Redis is starting oO0OoO0OoO0Oo
12:25:57 redis_cache.1    | 2837:C 06 Jan 2022 12:25:57.961 # Redis version=5.0.7, bits=64, commit=00000000, modified=0, pid=2837, just started
12:25:57 redis_cache.1    | 2837:C 06 Jan 2022 12:25:57.961 # Configuration loaded
12:25:57 redis_cache.1    | 2837:M 06 Jan 2022 12:25:57.962 * Increased maximum number of open files to 10032 (it was originally set to 1024).
12:25:57 redis_socketio.1 | 2850:C 06 Jan 2022 12:25:57.983 # oO0OoO0OoO0Oo Redis is starting oO0OoO0OoO0Oo
12:25:57 redis_socketio.1 | 2850:C 06 Jan 2022 12:25:57.983 # Redis version=5.0.7, bits=64, commit=00000000, modified=0, pid=2850, just started
12:25:57 redis_socketio.1 | 2850:C 06 Jan 2022 12:25:57.983 # Configuration loaded
12:25:57 redis_socketio.1 | 2850:M 06 Jan 2022 12:25:57.984 * Increased maximum number of open files to 10032 (it was originally set to 1024).
12:25:57 system           | schedule.1 started (pid=2856)
12:25:57 system           | redis_queue.1 started (pid=2844)
12:25:57 redis_queue.1    | 2860:C 06 Jan 2022 12:25:57.994 # oO0OoO0OoO0Oo Redis is starting oO0OoO0OoO0Oo
12:25:57 redis_queue.1    | 2860:C 06 Jan 2022 12:25:57.994 # Redis version=5.0.7, bits=64, commit=00000000, modified=0, pid=2860, just started
12:25:57 redis_queue.1    | 2860:C 06 Jan 2022 12:25:57.994 # Configuration loaded
12:25:57 redis_queue.1    | 2860:M 06 Jan 2022 12:25:57.995 * Increased maximum number of open files to 10032 (it was originally set to 1024).
12:25:58 system           | web.1 started (pid=2854)
12:25:58 system           | worker_short.1 started (pid=2855)
12:25:58 system           | worker_long.1 started (pid=2866)
12:25:58 redis_cache.1    | 2837:M 06 Jan 2022 12:25:58.020 * Running mode=standalone, port=13000.
12:25:58 redis_cache.1    | 2837:M 06 Jan 2022 12:25:58.020 # Server initialized
12:25:58 redis_cache.1    | 2837:M 06 Jan 2022 12:25:58.020 # WARNING overcommit_memory is set to 0! Background save may fail under low memory condition. To fix this issue add 'vm.overcommit_memory = 1' to /etc/sysctl.conf and then reboot or run the command 'sysctl vm.overcommit_memory=1' for this to take effect.
12:25:58 redis_cache.1    | 2837:M 06 Jan 2022 12:25:58.020 # WARNING you have Transparent Huge Pages (THP) support enabled in your kernel. This will create latency and memory usage issues with Redis. To fix this issue run the command 'echo never > /sys/kernel/mm/transparent_hugepage/enabled' as root, and add it to your /etc/rc.local in order to retain the setting after a reboot. Redis must be restarted after THP is disabled.
12:25:58 redis_cache.1    | 2837:M 06 Jan 2022 12:25:58.020 * Ready to accept connections
12:25:58 redis_socketio.1 | 2850:M 06 Jan 2022 12:25:58.020 * Running mode=standalone, port=12000.
12:25:58 redis_socketio.1 | 2850:M 06 Jan 2022 12:25:58.020 # Server initialized
12:25:58 redis_socketio.1 | 2850:M 06 Jan 2022 12:25:58.020 # WARNING overcommit_memory is set to 0! Background save may fail under low memory condition. To fix this issue add 'vm.overcommit_memory = 1' to /etc/sysctl.conf and then reboot or run the command 'sysctl vm.overcommit_memory=1' for this to take effect.
12:25:58 redis_socketio.1 | 2850:M 06 Jan 2022 12:25:58.020 # WARNING you have Transparent Huge Pages (THP) support enabled in your kernel. This will create latency and memory usage issues with Redis. To fix this issue run the command 'echo never > /sys/kernel/mm/transparent_hugepage/enabled' as root, and add it to your /etc/rc.local in order to retain the setting after a reboot. Redis must be restarted after THP is disabled.
12:25:58 redis_socketio.1 | 2850:M 06 Jan 2022 12:25:58.020 * Ready to accept connections
12:25:58 redis_queue.1    | 2860:M 06 Jan 2022 12:25:58.022 * Running mode=standalone, port=11000.
12:25:58 redis_queue.1    | 2860:M 06 Jan 2022 12:25:58.022 # Server initialized
12:25:58 redis_queue.1    | 2860:M 06 Jan 2022 12:25:58.022 # WARNING overcommit_memory is set to 0! Background save may fail under low memory condition. To fix this issue add 'vm.overcommit_memory = 1' to /etc/sysctl.conf and then reboot or run the command 'sysctl vm.overcommit_memory=1' for this to take effect.
12:25:58 redis_queue.1    | 2860:M 06 Jan 2022 12:25:58.022 # WARNING you have Transparent Huge Pages (THP) support enabled in your kernel. This will create latency and memory usage issues with Redis. To fix this issue run the command 'echo never > /sys/kernel/mm/transparent_hugepage/enabled' as root, and add it to your /etc/rc.local in order to retain the setting after a reboot. Redis must be restarted after THP is disabled.
12:25:58 redis_queue.1    | 2860:M 06 Jan 2022 12:25:58.022 * Ready to accept connections
12:25:58 system           | worker_default.1 started (pid=2862)
12:25:59 schedule.1       | /home/ubuntu/frappe-bench/env/lib/python3.8/site-packages/past/builtins/misc.py:45: DeprecationWarning: the imp module is deprecated in favour of importlib; see the module's documentation for alternative uses
12:25:59 schedule.1       |   from imp import reload
12:25:59 watch.1          | /home/ubuntu/frappe-bench/env/lib/python3.8/site-packages/past/builtins/misc.py:45: DeprecationWarning: the imp module is deprecated in favour of importlib; see the module's documentation for alternative uses
12:25:59 watch.1          |   from imp import reload
12:25:59 web.1            | /home/ubuntu/frappe-bench/env/lib/python3.8/site-packages/past/builtins/misc.py:45: DeprecationWarning: the imp module is deprecated in favour of importlib; see the module's documentation for alternative uses
12:25:59 web.1            |   from imp import reload
12:25:59 schedule.1       | /home/ubuntu/frappe-bench/env/lib/python3.8/site-packages/bleach_whitelist/bleach_whitelist.py:3: DeprecationWarning: bleach-whitelist has been renamed bleach-allowlist. It will not receive further updates under the old name. See https://pypi.org/project/bleach-allowlist
12:25:59 schedule.1       |   warnings.warn(
12:25:59 watch.1          | /home/ubuntu/frappe-bench/env/lib/python3.8/site-packages/bleach_whitelist/bleach_whitelist.py:3: DeprecationWarning: bleach-whitelist has been renamed bleach-allowlist. It will not receive further updates under the old name. See https://pypi.org/project/bleach-allowlist
12:25:59 watch.1          |   warnings.warn(
12:25:59 web.1            | /home/ubuntu/frappe-bench/env/lib/python3.8/site-packages/bleach_whitelist/bleach_whitelist.py:3: DeprecationWarning: bleach-whitelist has been renamed bleach-allowlist. It will not receive further updates under the old name. See https://pypi.org/project/bleach-allowlist
12:25:59 web.1            |   warnings.warn(
12:26:01 watch.1          | yarn run v1.22.17
12:26:02 watch.1          | $ node rollup/watch.js
12:26:08 web.1            |  * Running on http://0.0.0.0:8000/ (Press CTRL+C to quit)
12:26:08 web.1            |  * Restarting with inotify reloader
12:26:09 web.1            | /home/ubuntu/frappe-bench/env/lib/python3.8/site-packages/past/builtins/misc.py:45: DeprecationWarning: the imp module is deprecated in favour of importlib; see the module's documentation for alternative uses
12:26:09 web.1            |   from imp import reload
12:26:09 web.1            | /home/ubuntu/frappe-bench/env/lib/python3.8/site-packages/bleach_whitelist/bleach_whitelist.py:3: DeprecationWarning: bleach-whitelist has been renamed bleach-allowlist. It will not receive further updates under the old name. See https://pypi.org/project/bleach-allowlist
12:26:09 web.1            |   warnings.warn(
12:26:09 web.1            |  * Debugger is active!
12:26:09 web.1            |  * Debugger PIN: 254-079-259
12:26:13 socketio.1       | listening on *: 9000
12:26:35 watch.1          | 
12:26:35 watch.1          | Rollup Watcher Started
12:26:35 watch.1          | 
12:26:35 watch.1          | Watching...
12:26:44 watch.1          | Browserslist: caniuse-lite is outdated. Please run:
12:26:44 watch.1          | npx browserslist@latest --update-db
12:26:45 watch.1          | Rebuilding frappe-web-b4.css
12:26:46 watch.1          | Rebuilding frappe-recorder.min.js
12:26:52 watch.1          | Rebuilding checkout.min.js
12:26:52 watch.1          | Rebuilding frappe-web.min.js
12:26:56 watch.1          | Rebuilding bootstrap-4-web.min.js
12:26:58 watch.1          | Rebuilding control.min.js
12:27:06 watch.1          | Rebuilding dialog.min.js
12:27:12 watch.1          | Rebuilding desk.min.css
12:27:12 watch.1          | Rebuilding printview.css
12:27:12 watch.1          | Rebuilding desk.min.js
12:27:22 watch.1          | Rebuilding form.min.js
12:27:30 watch.1          | Rebuilding list.min.js
12:27:33 watch.1          | Rebuilding report.min.css
12:27:33 watch.1          | Rebuilding report.min.js
12:27:35 watch.1          | Rebuilding web_form.min.js
12:27:35 watch.1          | Rebuilding web_form.css
12:27:35 watch.1          | Rebuilding email.css
12:27:35 watch.1          | Rebuilding barcode_scanner.min.js
12:27:37 watch.1          | Rebuilding user_profile_controller.min.js
12:27:37 watch.1          | Rebuilding login.css
12:27:37 watch.1          | Rebuilding data_import_tools.min.js
12:27:40 watch.1          | Rebuilding frappe-web-b4.css
12:27:43 watch.1          | Rebuilding desk.min.css
12:27:43 watch.1          | Rebuilding printview.css
12:27:43 watch.1          | Rebuilding report.min.css
12:27:43 watch.1          | Rebuilding web_form.css
12:27:43 watch.1          | Rebuilding email.css
12:27:43 watch.1          | Rebuilding login.css

I have waited for almost half an hour now

How to proceed further?

Is it ok to terminate the process by Ctrl+C and proceed further?

this is a development instance, so if you terminate this process your instance will stop running. To continue to production, yes you have to terminate the process and run step 17 as mentioned above.

Finally I managed to get ERPNext up and running!!

But now how to login?

I mean what are the default Username and Password?

frappe_passwords.txt file will be created at the time of installation
You can find Frappe, MariaDB, Administrator Password in this file.
The passwords are stored at ~/frappe_passwords.txt where you install /frappe-bench
You can remove this file after making a note of the passwords.

1 Like

I cannot find this file.

Probably the new update does not create this file any more.

During setup of MariaDB you were asked to enter a password. That’s the password for database
During setup of production you were also asked to enter a password, that’s the password you use for login after installation.

if you cannot remember the password for admin, then use this command to change it:

cd frappe-bench
bench set-admin-password "Your-Admin-Password"

Replace Your Admin Password with your desired password.

Hope this helps.

2 Likes

@yogeshvachhani how did you resolve the Rebuilding login.css hanging issue? I’m also facing the same issue and don’t know how to fix it. The process hanged when it got to that step. Any form of assistance will be highly appreciated.

It means now you can access your site in browser with localhost:80 address

2 Likes

It is normal

Actually I did nothing!
I terminated the process.
Rebooted my VM and then reran the command again and it started working!

bench start is not an installation process. It is a command used to start erpnext and used for development purpose. There is no need to use this command. If your intended use is for production purpose then you must use sudo bench setup production username. Replace username with the user you have created.

1 Like

After doing all (Step 1 - Step 15).
I run bench start, call http://localhost:8000/, and get 404 Not found.
Please help me.

I am also facing this issue in New installation after V13.21.0 Version.
error 404 page not found.

Anyone please help in this issue…

Thanks

Yes, can you share the screenshot?

0.0.0.0:8000 - Not Working
Localhost:8000 - Not working
and No IP access Working.

in terminal:

cd [bench directory]/sites/

then type the following command exactly as it is shown:

sudo touch currentsite.txt
sudo nano currentsite.txt

and enter your site name for example- site1.local

ctrl+s and ctrl-x

reload your site in the browser.
That’s it

1 Like

Thanks @erpnxt_user My issue Resolved…

1 Like