ERPNext v16 Production Deployment using Docker
This guide explains how to deploy ERPNext v16 in production using Docker, based on official Frappe resources and real-world tested steps.
References
-
Frappe Forum Guide
https://discuss.frappe.io/t/tutorial-docker-installing-erpnext-15-on-docker-a-step-by-step-guide-production/111731 -
Official Frappe Docker Docs
https://github.com/frappe/frappe_docker/blob/main/docs/02-setup/07-single-server-example.md
1. Prerequisites
1.1 Server Requirements
Minimum recommended configuration for production:
-
RAM: 8 GB
-
CPU: 4 Cores
-
Storage: 160 GB SSD
1.2 Operating System
- OS: Ubuntu 24.04 or higher
1.3 Software Requirements
-
Docker: Latest stable version
-
Python:
>= 3.14and< 3.15 -
Node.js:
24.x
2. Firewall & Port Configuration
Ensure the following ports are open on your server firewall:
| Service | Port |
|---|---|
| SSH | 22 |
| HTTP | 80 |
| HTTPS | 443 |
3. Create a Linux User for Frappe
Create a dedicated Linux user (recommended for security).
sudo adduser frappe
sudo usermod -aG sudo frappe
su - frappe
Verify Access
whoami
sudo ls
4. Install Docker
Install Docker Engine and configure it properly for non-root usage.
Official Docs (Follow Carefully)
Make sure:
Docker is installed
frappeuser is added to thedockergroup
docker psworks without sudo
If you’re unsure, refer to trusted tutorials or videos.
5. Custom Apps (Optional)
If you use custom apps
You must authenticate GitHub using a Personal Access Token (PAT).
Example APPS_JSON with custom app
https://<USERNAME>:<GITHUB_TOKEN>@github.com/<USERNAME>/<CUSTOM_APP>.git
Example
https://antony:ghp_1234567890abcdef1234567890abcdef@github.com/antony/my_custom_app.git
6. Apps Configuration (No Custom App Case)
below command without custom app.
export APPS_JSON='[
  { "url": "https://github.com/frappe/erpnext", "branch": "version-16" },
  { "url": "https://github.com/frappe/hrms", "branch": "version-16" },
  { "url": "https://github.com/frappe/email_delivery_service", "branch": "main" },
  { "url": "https://github.com/resilient-tech/india-compliance", "branch": "version-16" },
  { "url": "https://github.com/frappe/crm", "branch": "main" },
  { "url": "https://github.com/erpnextai/next_ai", "branch": "main" }
]'
Encode it:
export APPS_JSON_BASE64=$(echo ${APPS_JSON} | base64 -w 0)
7. Clone Frappe Docker
git clone https://github.com/frappe/frappe_docker
cd frappe_docker
8. Build Custom Docker Image
Choose Versions
-
Frappe:
v16.7.0 -
Python:
3.14.0 -
Node.js:
24.13.0
Check versions here:
Build Command
Takes 10–15 minutes. Be patient.
docker build \
  --build-arg=FRAPPE_PATH=https://github.com/frappe/frappe \
  --build-arg=FRAPPE_BRANCH=v16.7.0 \
  --build-arg=PYTHON_VERSION=3.14.0 \
  --build-arg=NODE_VERSION=24.13.0 \
  --build-arg=APPS_JSON_BASE64=$APPS_JSON_BASE64 \
  --tag=customapp:1.0.0 \
  --file=images/custom/Containerfile .
9. DNS Configuration
Add an A record pointing to your server’s IPv4 address.
Example:
myerpnext.online → <SERVER_IPV4>
![]()
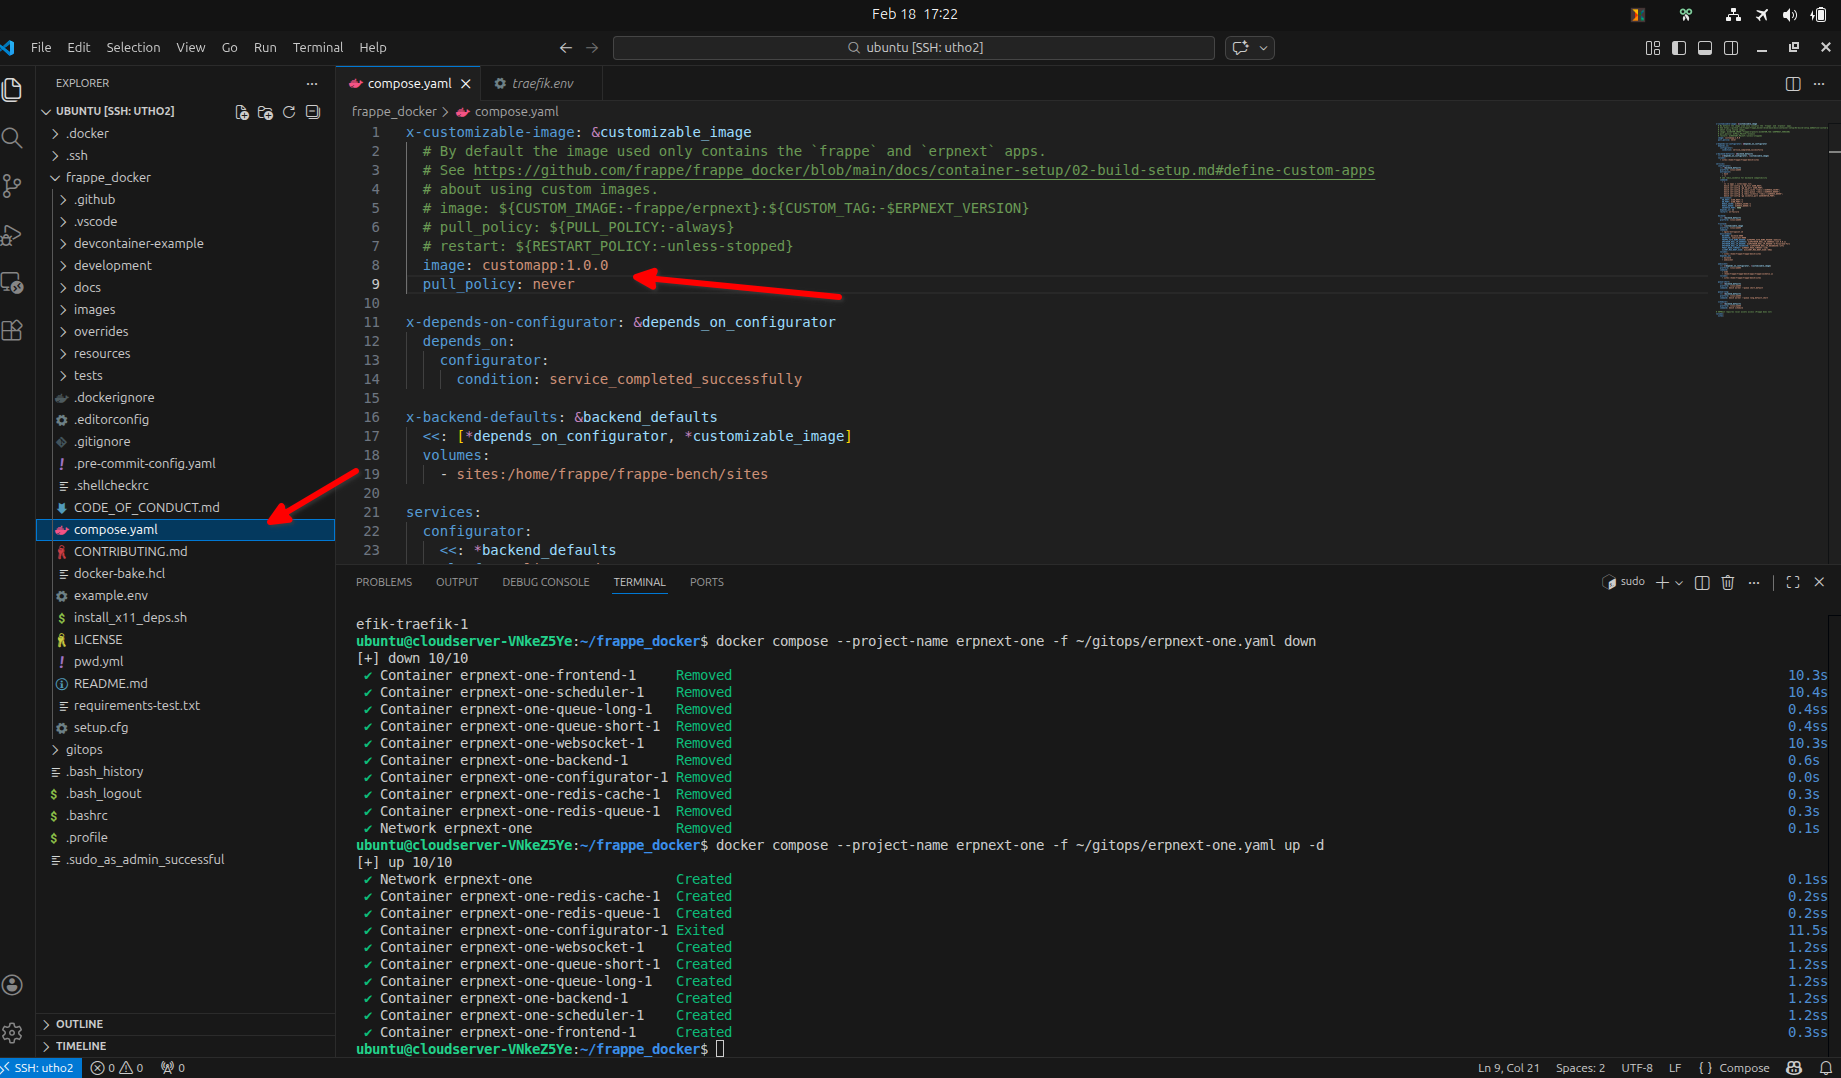
10. Update Docker Compose Image
Edit compose.yaml:
x-customizable-image: &customizable_image
  image: customapp:1.0.0
  pull_policy: never
11. Create GitOps Directory
mkdir ~/gitops
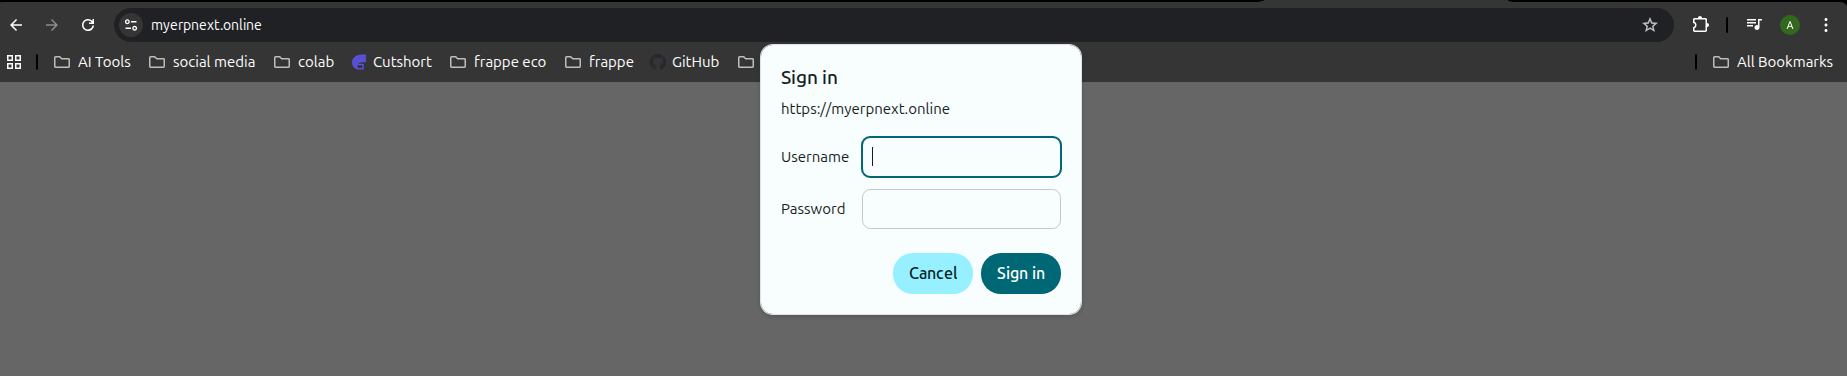
12. Traefik Configuration
Replace domain and email accordingly.
- Here Im assume im using the domain
myerpnext.online. you can change your domain accordingly - Important note i used my
HASHED_PASSWORD as a mypassword. but in your case you have to chose some strong password
echo 'TRAEFIK_DOMAIN=myerpnext.online' > ~/gitops/traefik.env
echo 'EMAIL=admin@myerpnext.online' >> ~/gitops/traefik.env
echo 'HASHED_PASSWORD='$(openssl passwd -apr1 mypassword | sed 's/\$/\\\$/g') >> ~/gitops/traefik.env
![]() Use a strong password in production.
Use a strong password in production.
13. Start Traefik
docker compose --project-name traefik \
  --env-file ~/gitops/traefik.env \
  -f overrides/compose.traefik.yaml \
  -f overrides/compose.traefik-ssl.yaml up -d
14. MariaDB Setup
Note: Replace DB_PASSWORD with a strong, secure password; this command creates a mariadb.env file inside the gitops folder—if it is not created automatically, create it manually and add DB_PASSWORD=<your_secure_password>.
Start MariaDB:
docker compose --project-name mariadb \
  --env-file ~/gitops/mariadb.env \
  -f overrides/compose.mariadb-shared.yaml up -d
15. ERPNext Environment Configuration
-
Carefully update only the required values — change your domain (replace only
myerpnext.online, do not modifyerp.example.com) and update the DB Password. -
Do not change any other configuration values apart from the specified domain and password.
-
Verify all changes properly before running the command.
![]() Change only the domain and DB password. Do NOT touch
Change only the domain and DB password. Do NOT touch erp.example.com elsewhere.
cp example.env ~/gitops/erpnext-one.env
sed -i 's/DB_PASSWORD=123/DB_PASSWORD=mypassword/g' ~/gitops/erpnext-one.env
sed -i 's/DB_HOST=/DB_HOST=mariadb-database/g' ~/gitops/erpnext-one.env
sed -i 's/DB_PORT=/DB_PORT=3306/g' ~/gitops/erpnext-one.env
sed -i 's/SITES_RULE=Host(`erp.example.com`)/SITES_RULE=Host(`myerpnext.online`)/g' ~/gitops/erpnext-one.env
sed -i 's/NGINX_PROXY_HOSTS=erp.example.com/NGINX_PROXY_HOSTS=myerpnext.online/g' ~/gitops/erpnext-one.env
echo 'ROUTER=erpnext-one' >> ~/gitops/erpnext-one.env
echo 'BENCH_NETWORK=erpnext-one' >> ~/gitops/erpnext-one.env
16. Generate Final Compose File
Create erpnext-one.yaml file in the gitops folder
docker compose --project-name erpnext-one \
  --env-file ~/gitops/erpnext-one.env \
  -f compose.yaml \
  -f overrides/compose.redis.yaml \
  -f overrides/compose.multi-bench.yaml \
  -f overrides/compose.multi-bench-ssl.yaml \
  config > ~/gitops/erpnext-one.yaml
17. Deploy ERPNext Containers
docker compose --project-name erpnext-one \
  -f ~/gitops/erpnext-one.yaml up -d
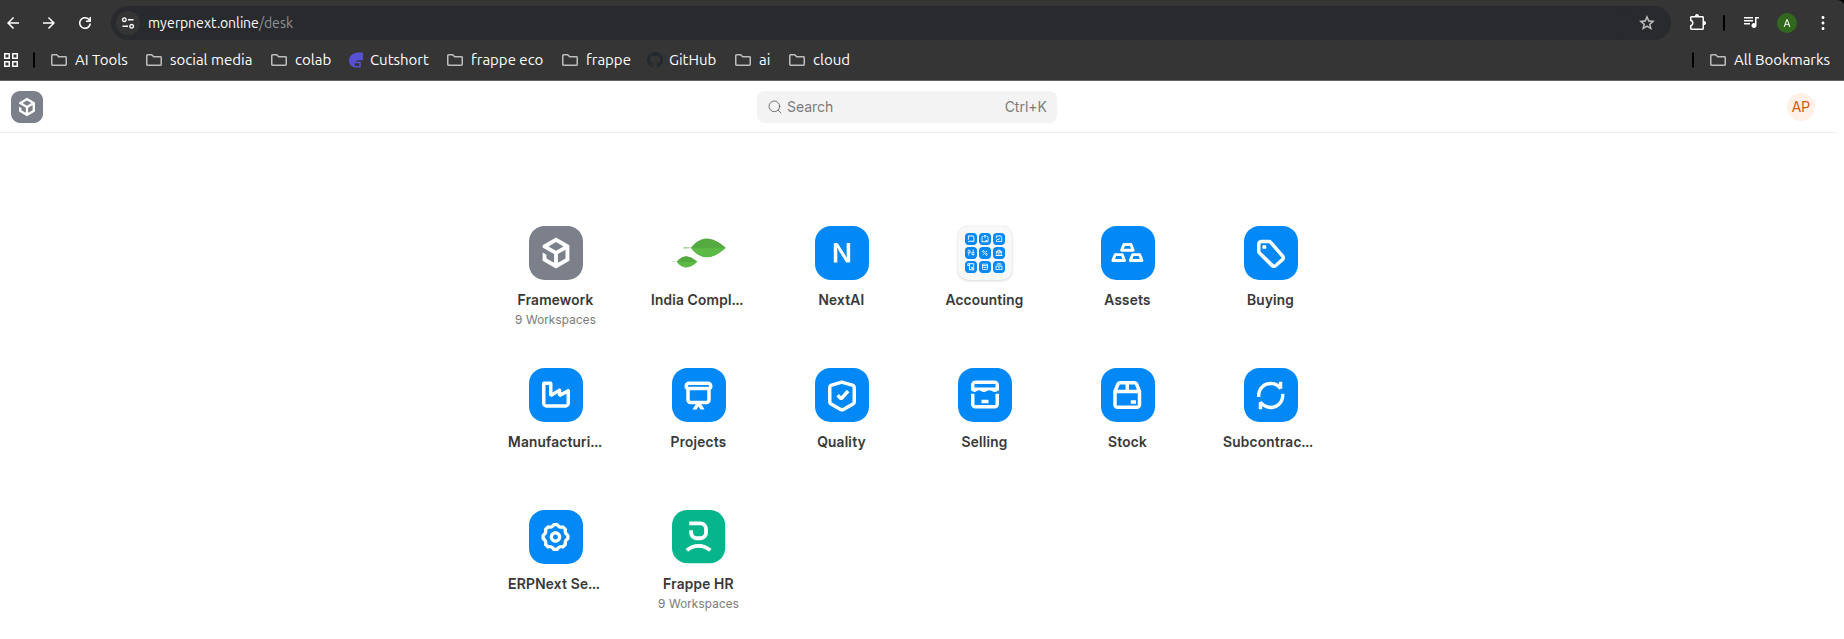
18. Create ERPNext Site
-
Create the site using
myerpnext.online, but make sure to replacemyerpnext.onlinewith your actual domain name before running the command. -
In the command, both the site password and DB password are set as
mypassword; replace every occurrence ofmypasswordwith strong, secure passwords. -
Important: Do not use the same password for both the site and the database — use two different strong passwords.
![]() Do NOT use the same password for Admin and DB.
Do NOT use the same password for Admin and DB.
docker compose --project-name erpnext-one exec backend \
bench new-site --db-root-password mypassword --admin-password mypassword --mariadb-user-host-login-scope=% myerpnext.online

19. Enter Backend Container
docker exec -it erpnext-one-backend-1 bash
20. Enable Scheduler
bench --site myerpnext.online enable-scheduler
bench use myerpnext.online
21. Install Apps
bench install-app erpnext
bench install-app hrms
bench install-app email_delivery_service
bench install-app india_compliance
bench install-app next_ai
More info about NextAI
- Next AI | Frappe Cloud Marketplace
- GitHub - erpnextai/next_ai: NextAI is an AI-powered app for Frappe and ERPNext, delivering seamless content generation, automation, and productivity enhancements.
- https://www.erpnextai.in

Migrate:
bench migrate
22. Troubleshooting
Site Not Working?
-
Wait 5–10 minutes
-
Restart containers
docker compose --project-name erpnext-one \
  -f ~/gitops/erpnext-one.yaml down

docker compose --project-name erpnext-one \
  -f ~/gitops/erpnext-one.yaml up -d
Try 2–3 times if needed.